JKL
曹長

UID 26529
精華
9
積分 17
帖子 470
成品數目 17 件
閱讀權限 10
註冊 2008-2-28 來自 HK
狀態 離線
|
|
|
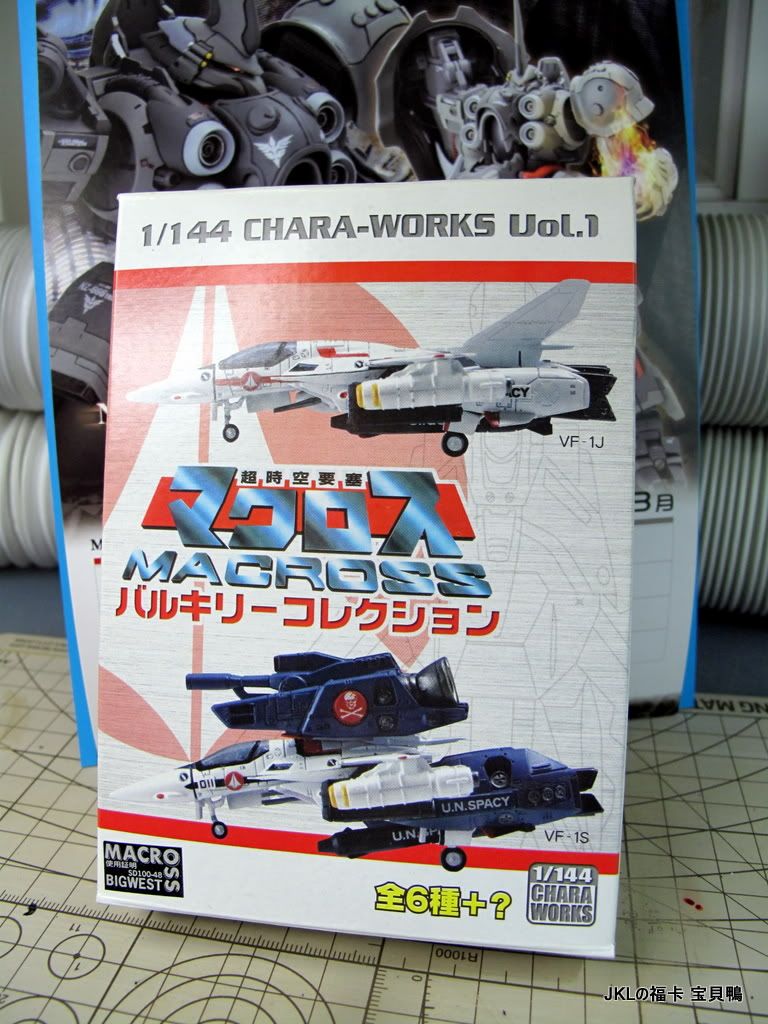
1/144 Chara-Works 盒蛋 VF-1S... 又是加燈的時侯了...
這1/144 Chara-Works盒蛋出得好仔細:
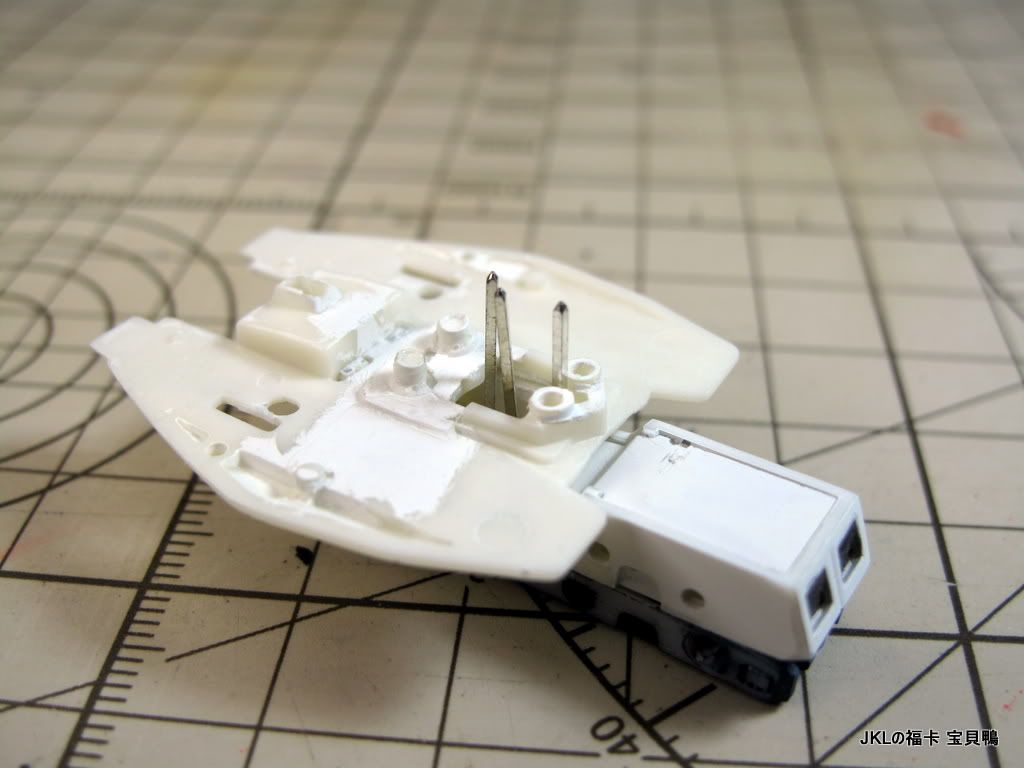
爆完一枱件:

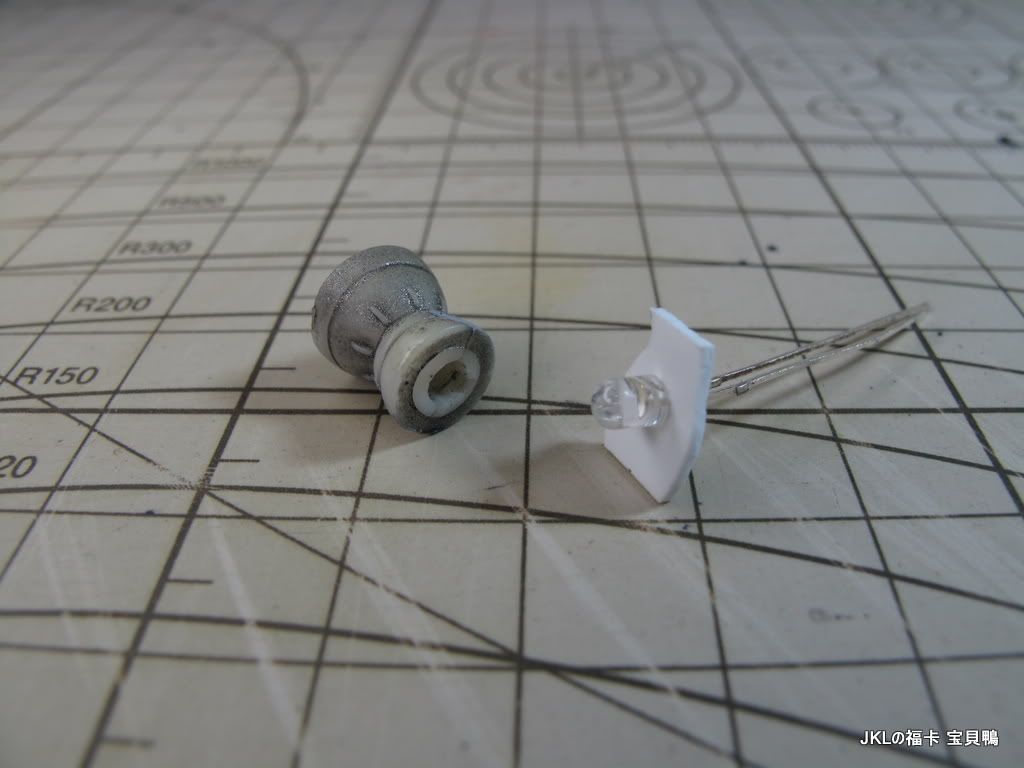
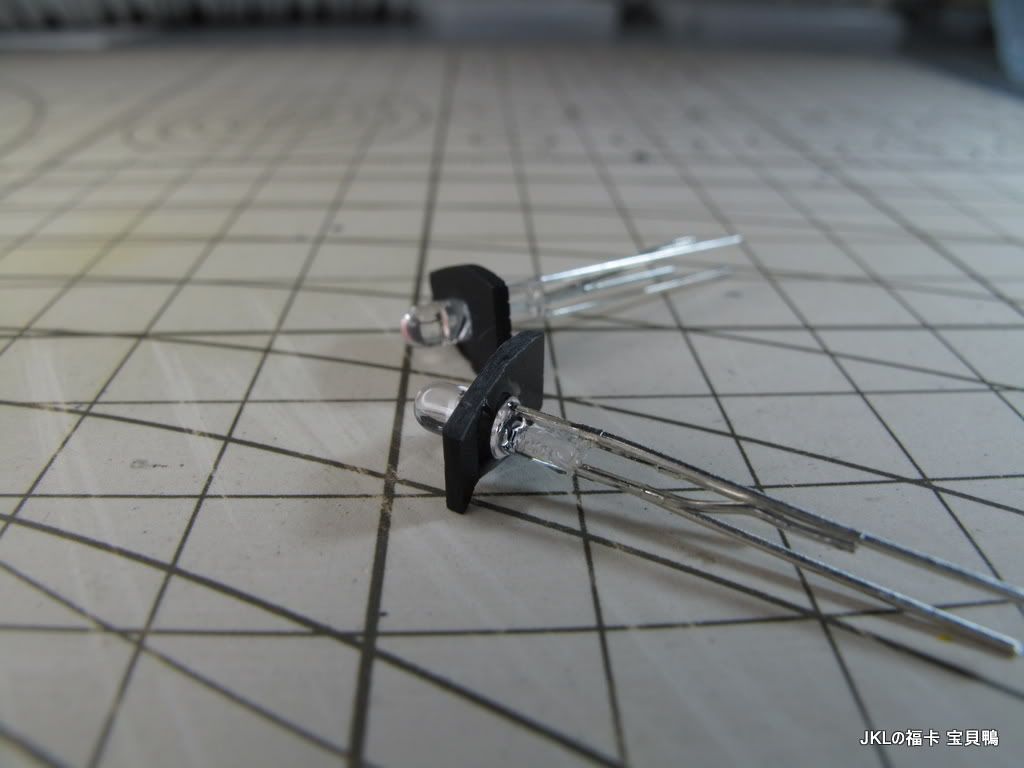
簡單地放粒3mm LED入雙腳的引擎位:
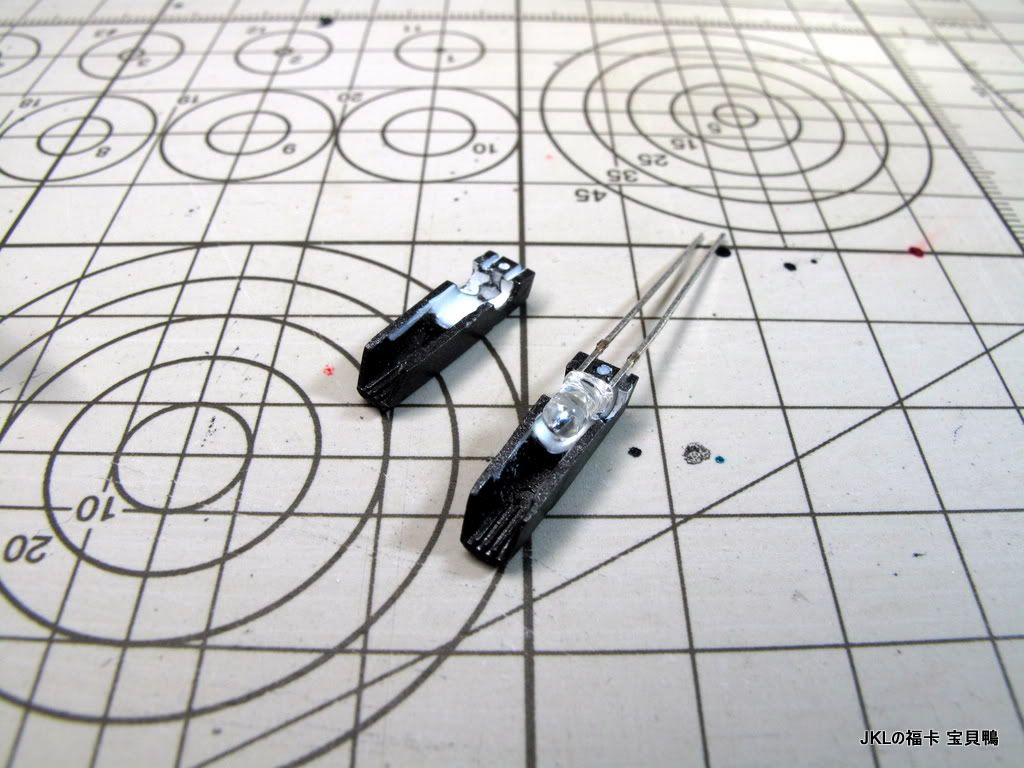

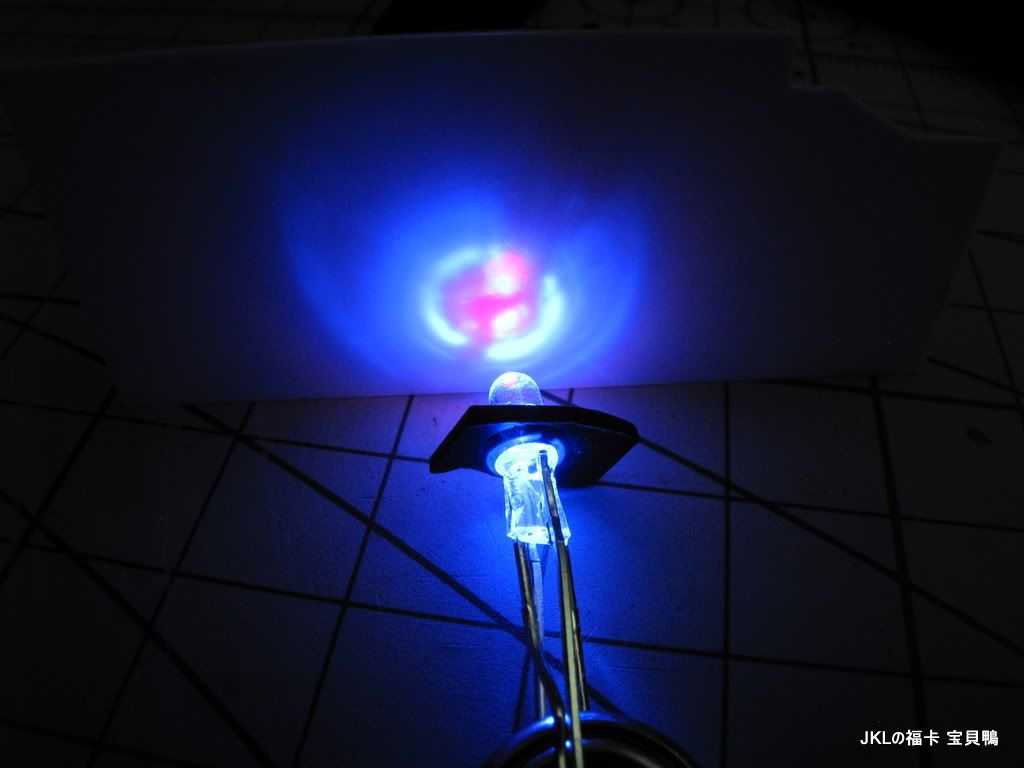
得個光字, 無內涵!

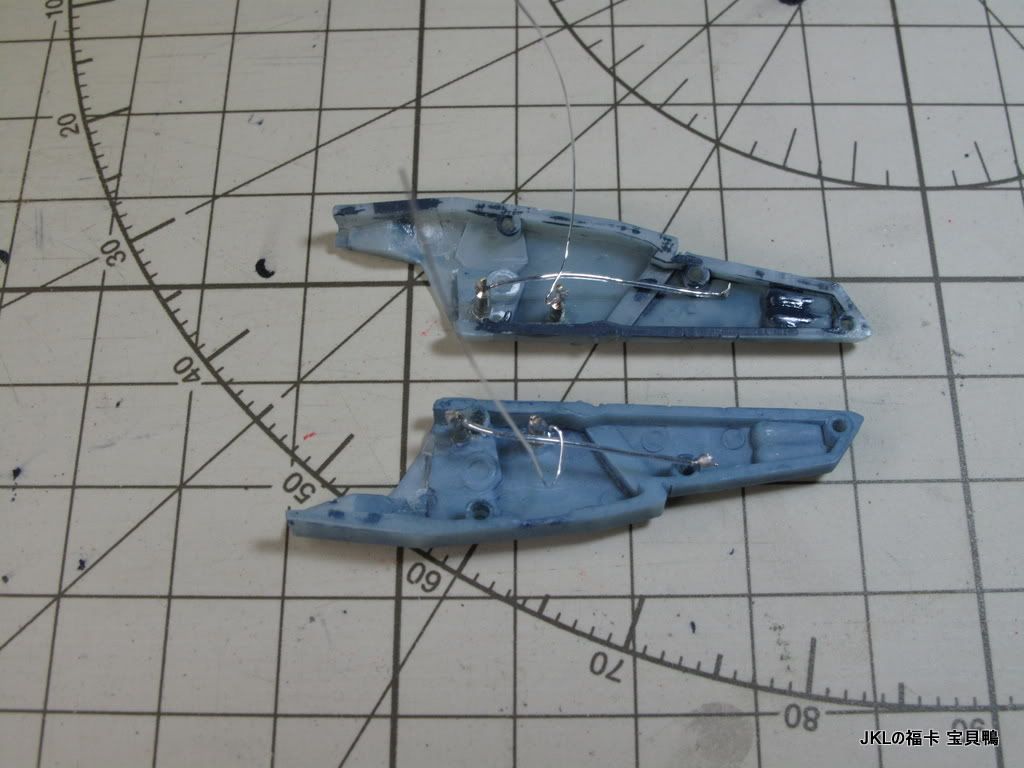
用砌高達嘅方法, 加兩層銅支:

實在強差人意...

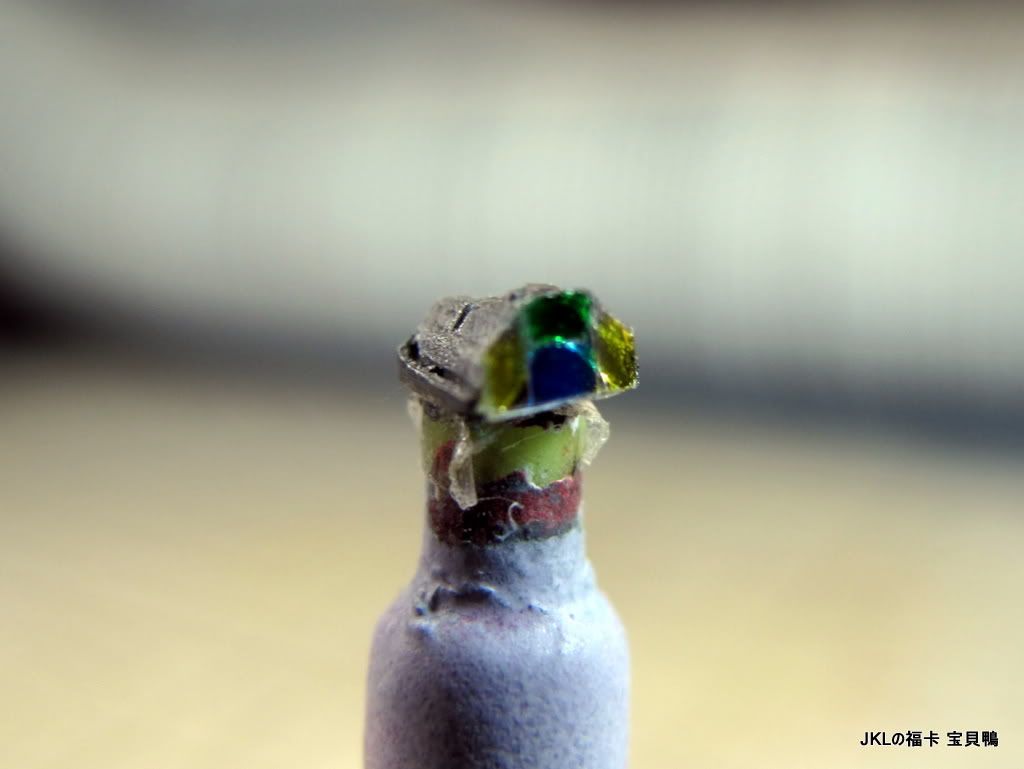
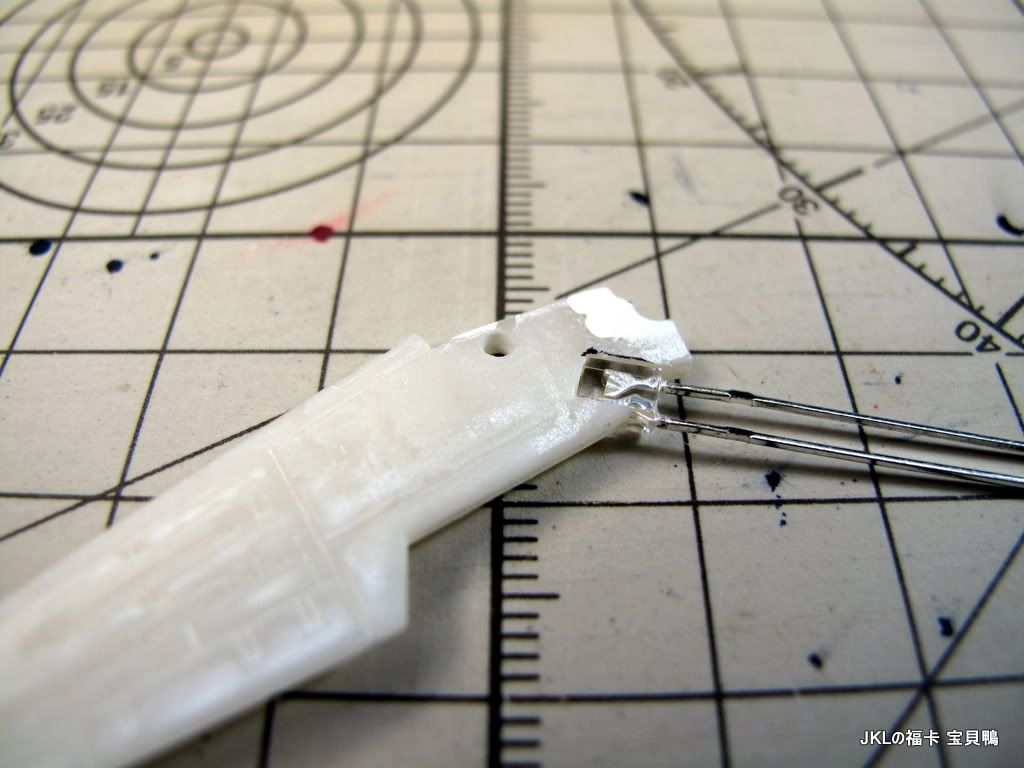
在廢物箱内找到條半透明外徑3mm, 內徑1mm的軟膠管!用3mm鑽個窩形, 然後切出1mm的小片:

油了透明藍後放入腳板LED前:
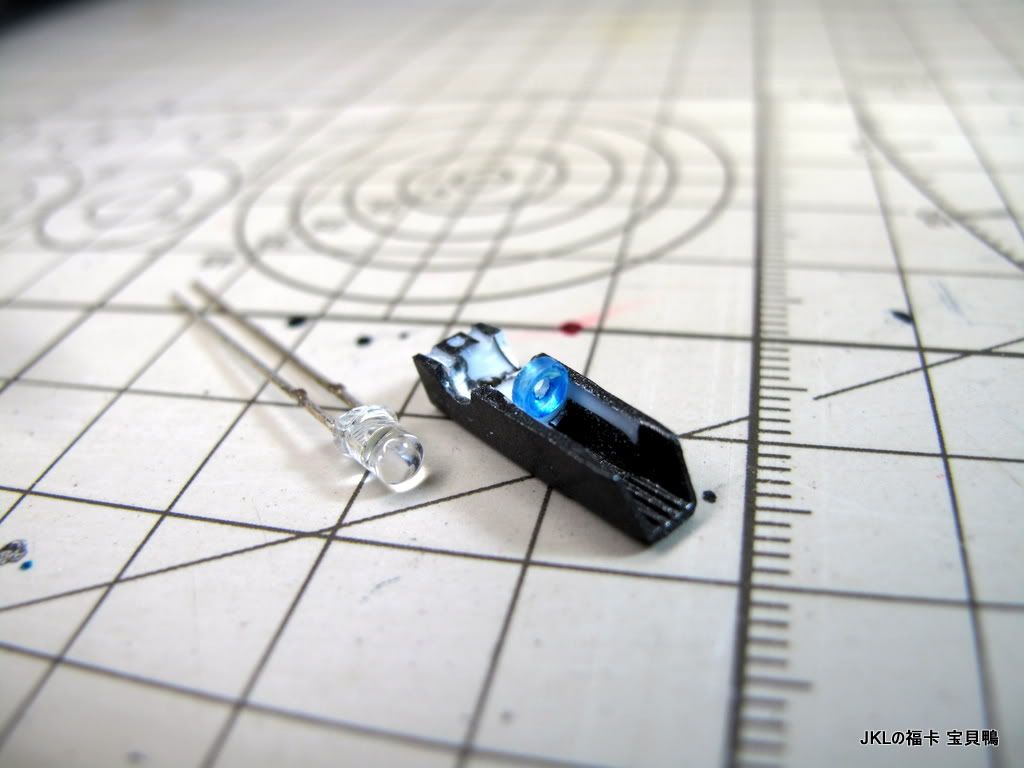
得咗, 可以做到外圍藍光, 中間白光!

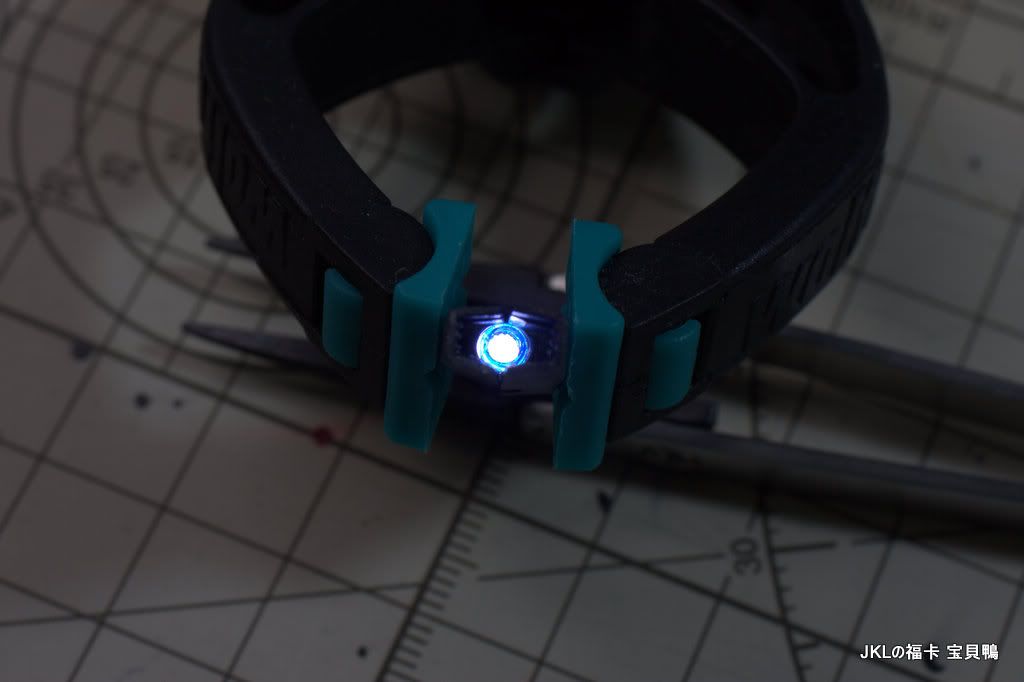
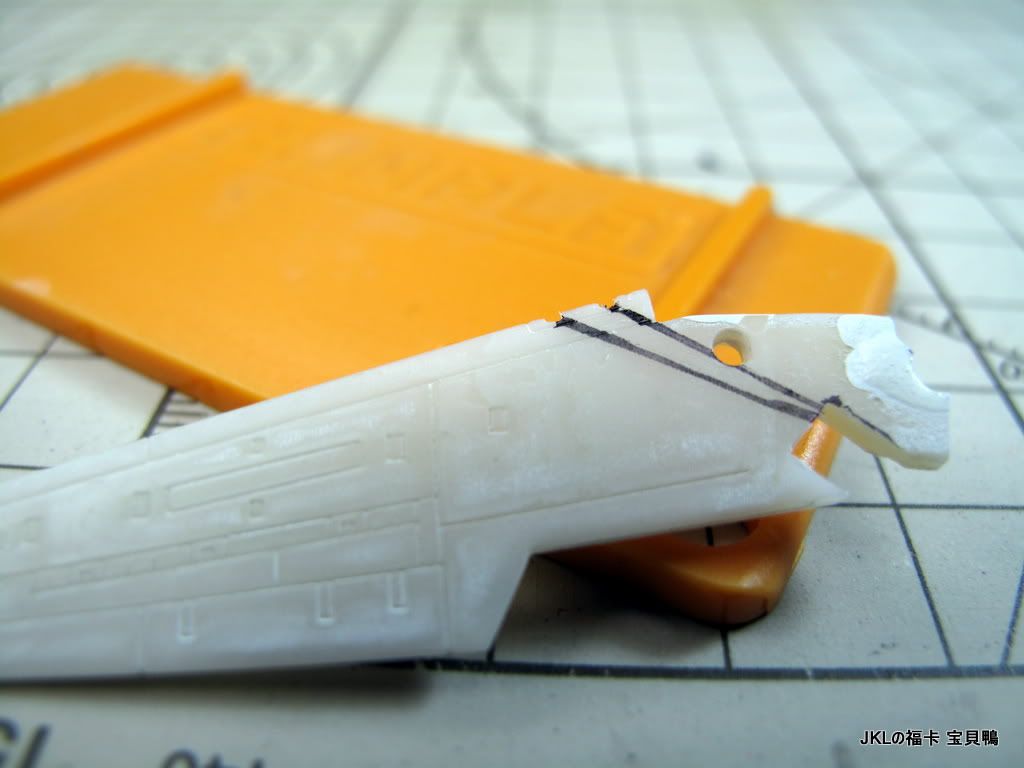
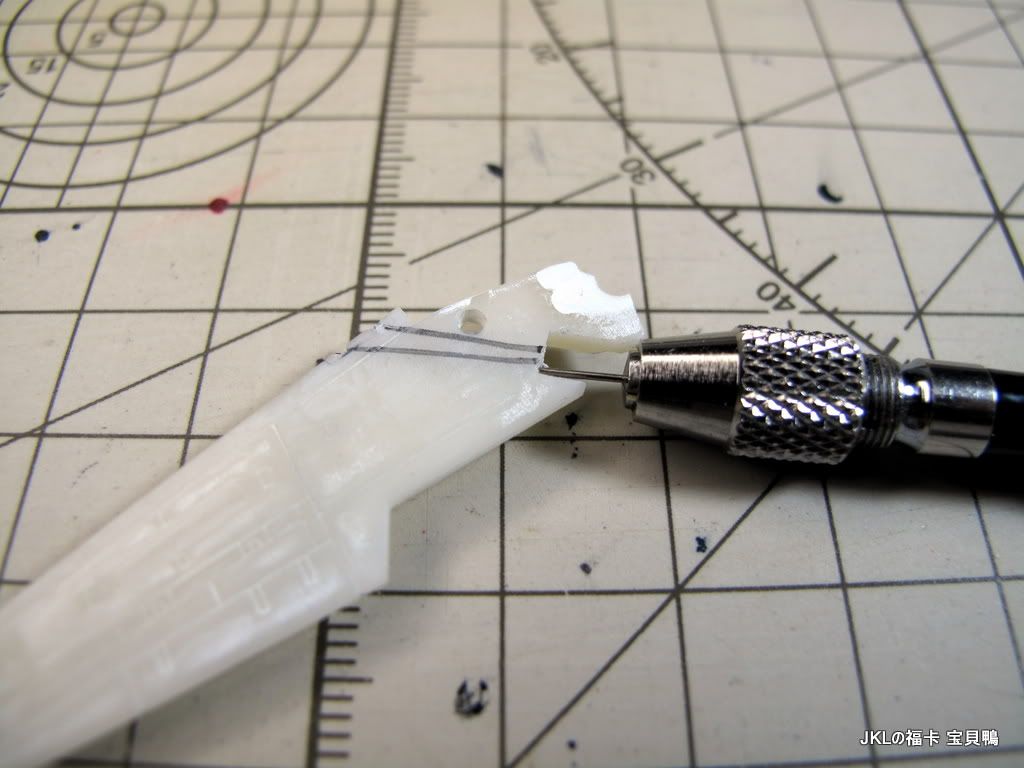
把那條半透明膠管的中間鑽到2mm內徑:

使藍光環更明顯:
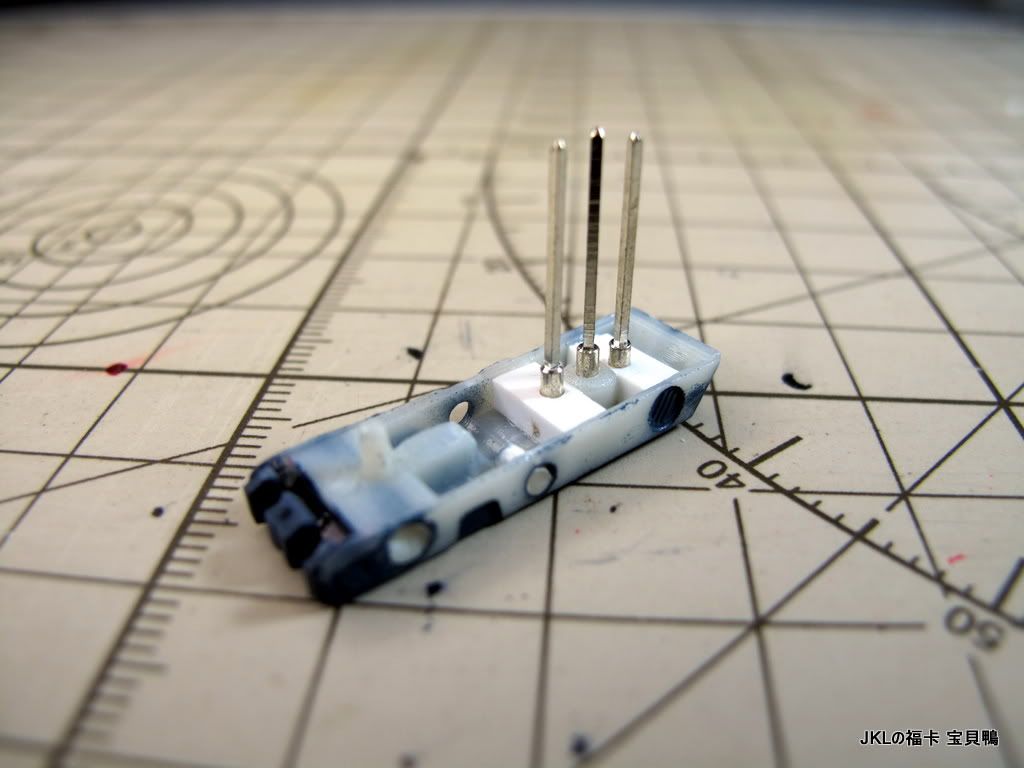
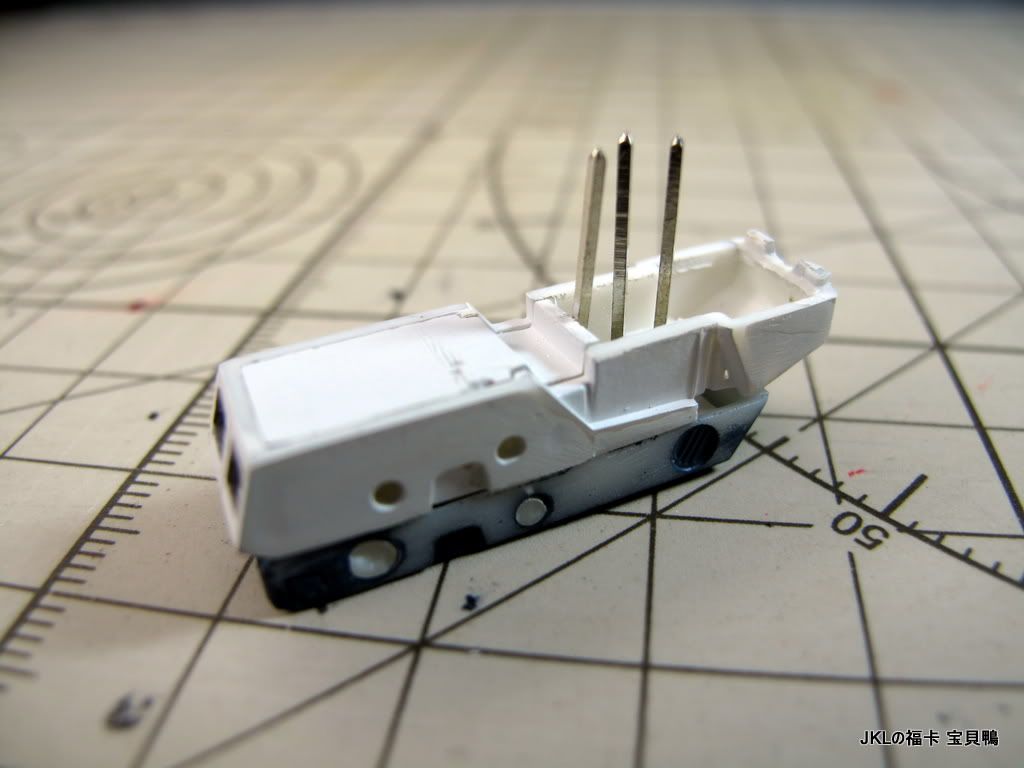
小腿內加粒IC插:

方便分件上色:

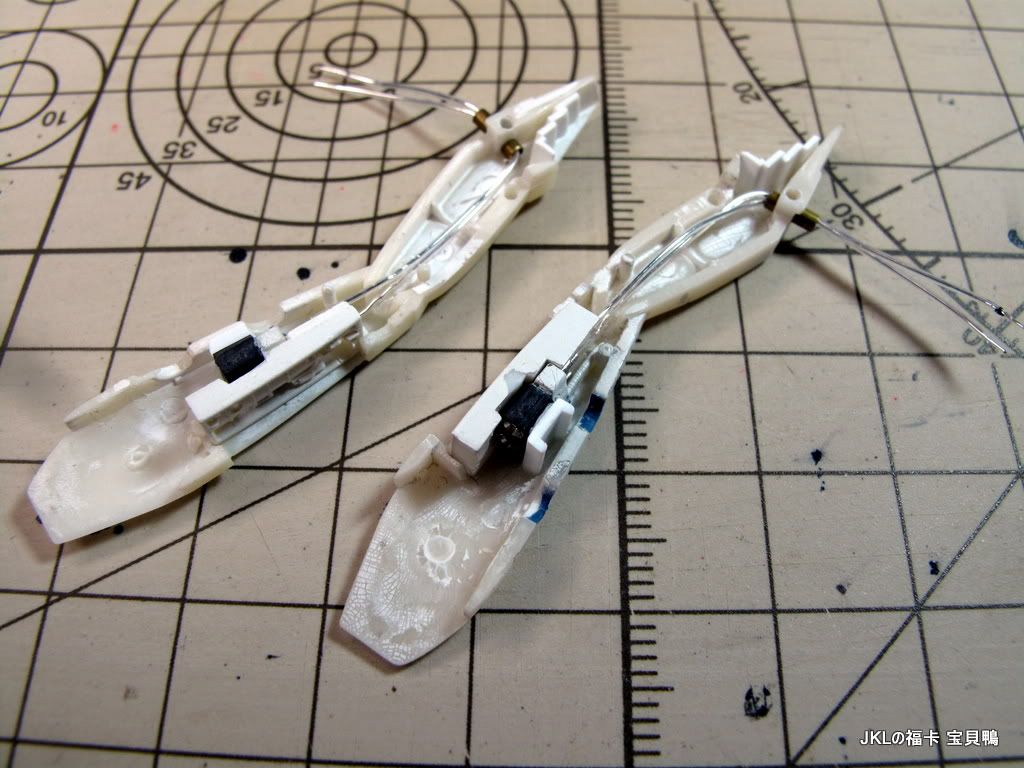
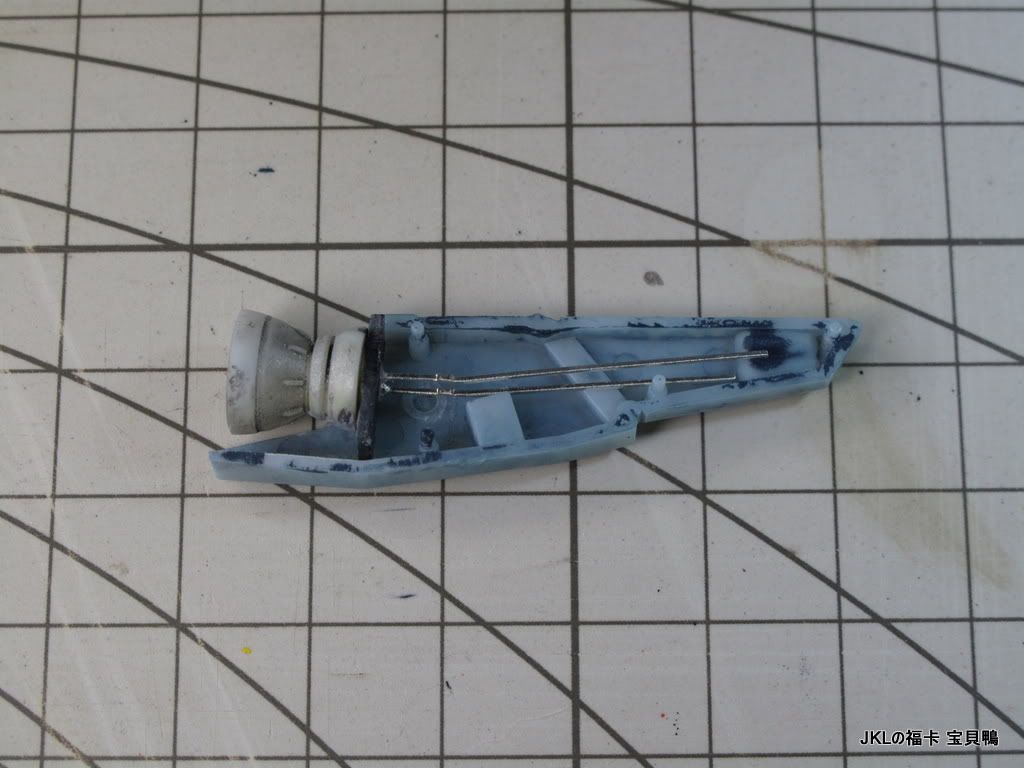
在大腿連至機身位加銅通, 方便走線及定位:
因為這是太空模式, 大腿前加遮蓋板:
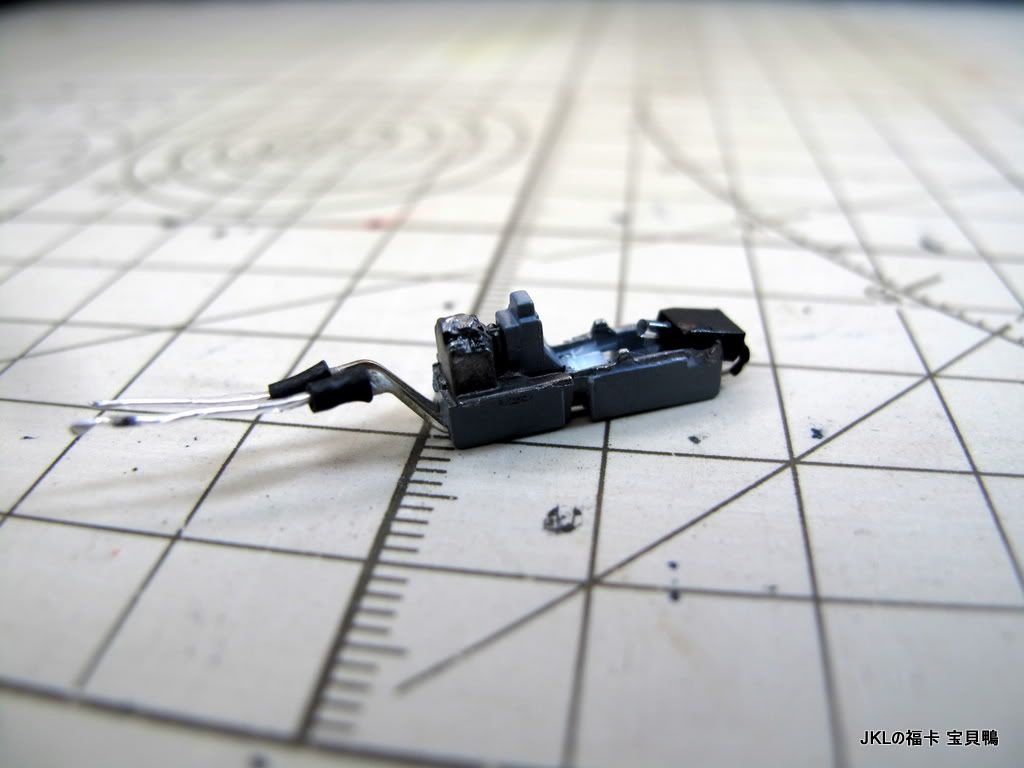
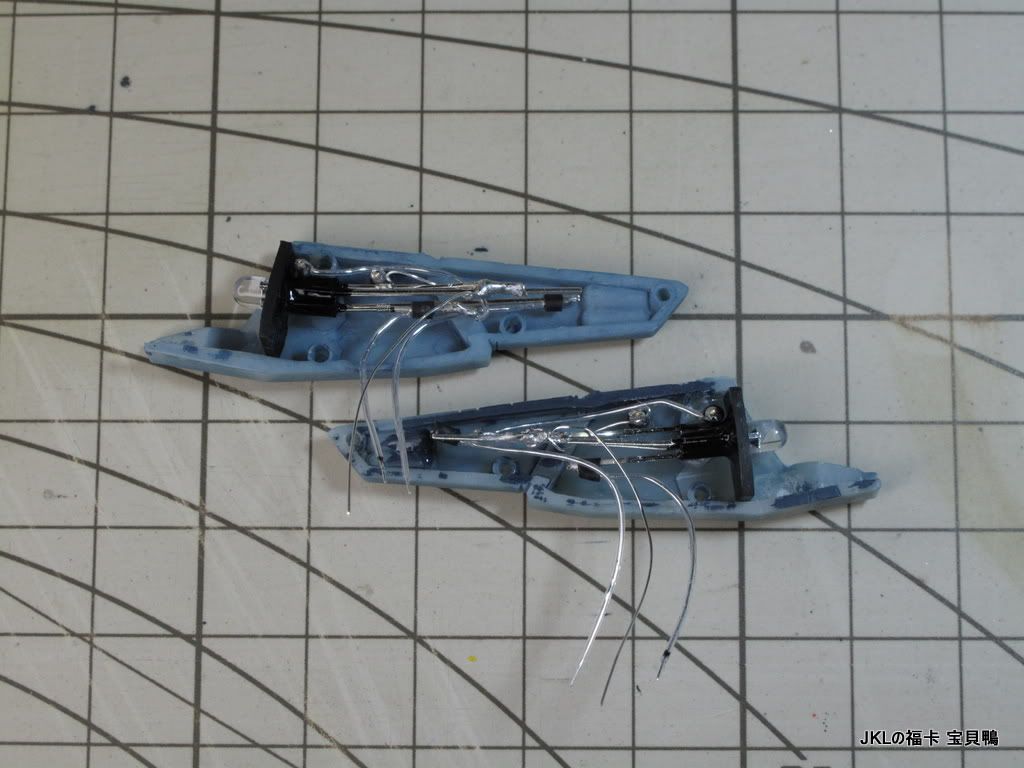
焊好線:
組合試燈:

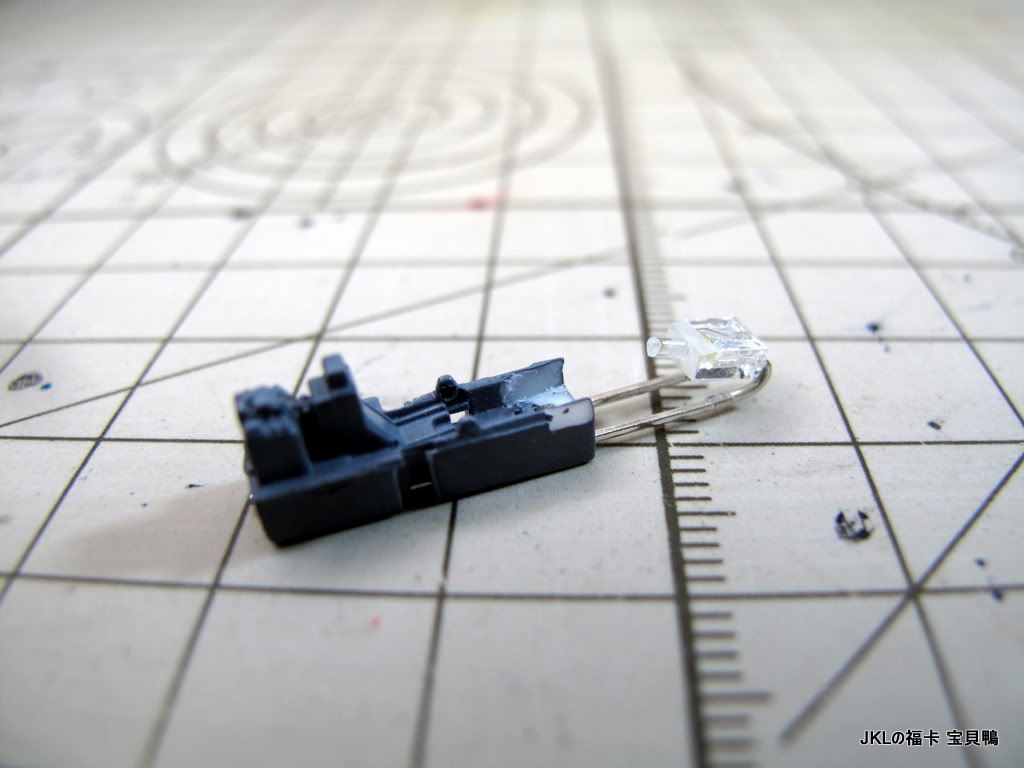
座位前面只要磨薄小小便可裝 3x2mm LED:
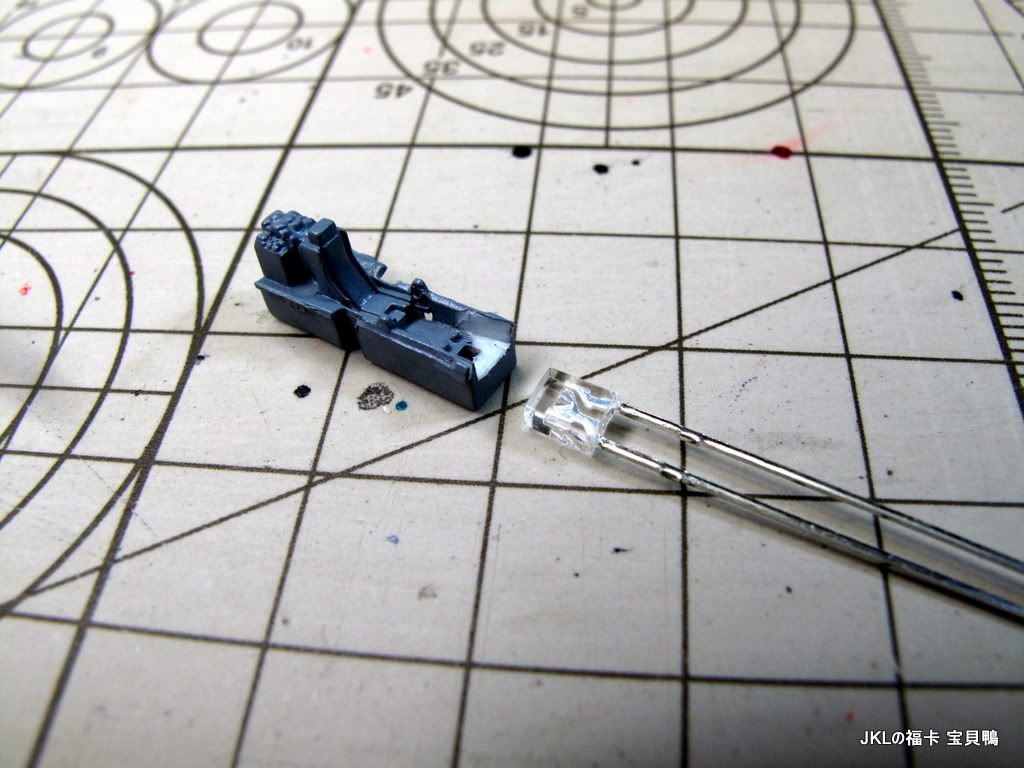

LED腳可以屈入座位底部:
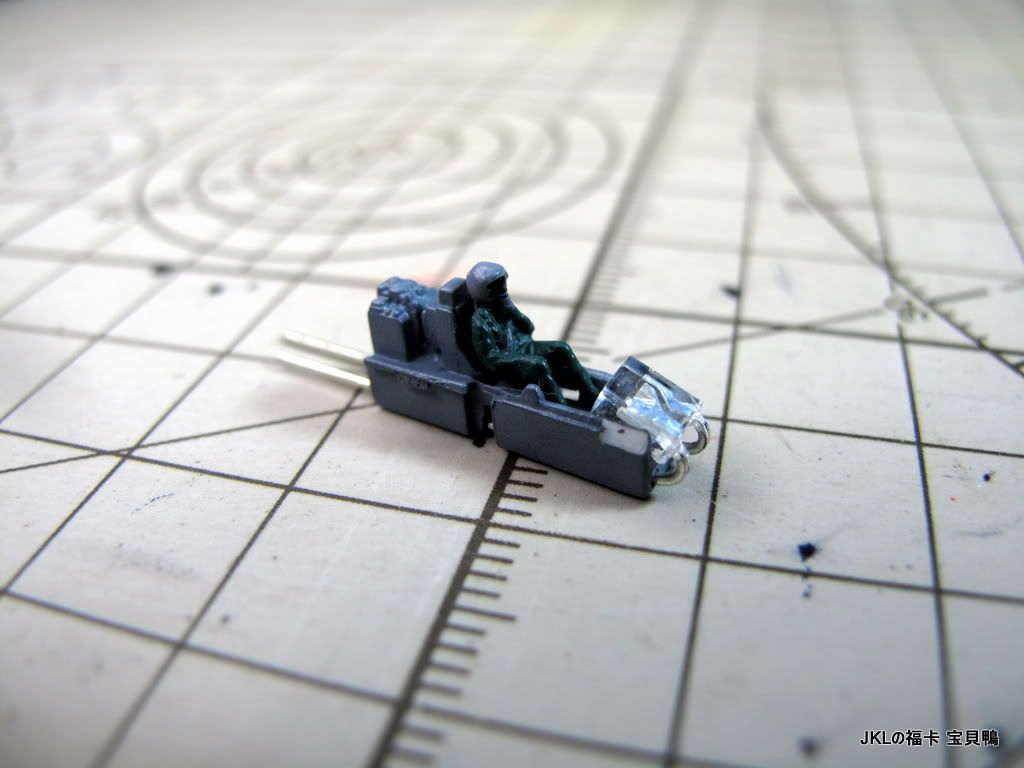
再在LED前鑽入一小條1mm光纖:
使光源集中在錶板:
最後用黑油遮光及屈好線腳:
錶板面用了透明膠片, 再油上加透明藍、黃、綠色, 最後在表面貼上1/144戰機的錶板水貼...
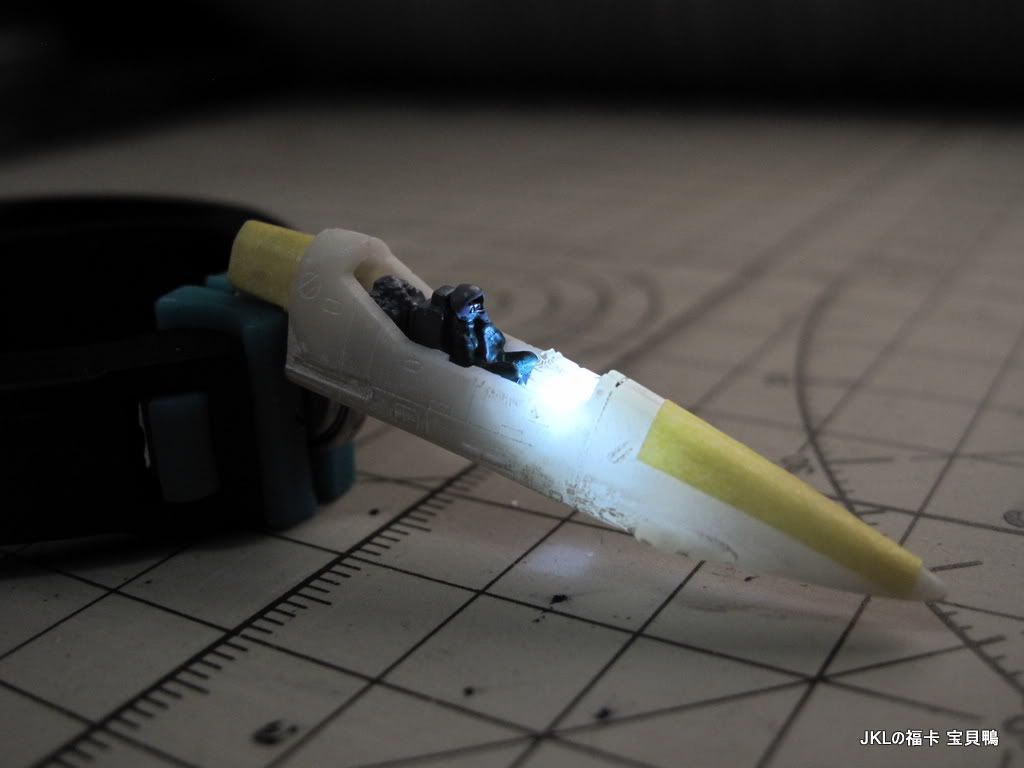
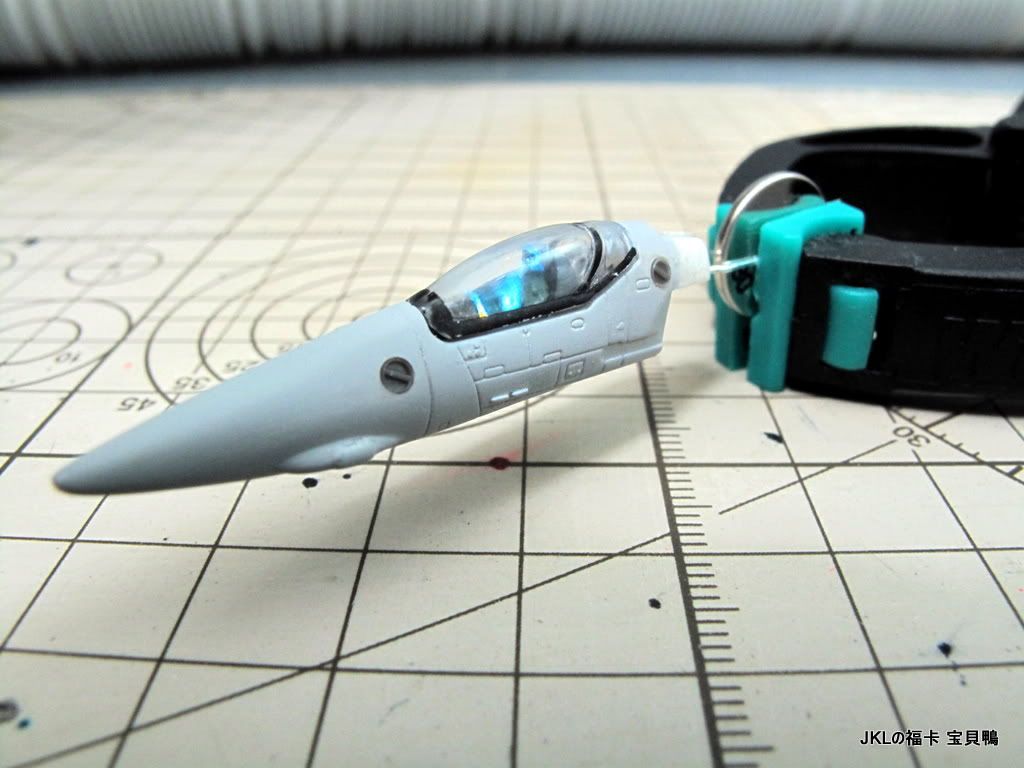
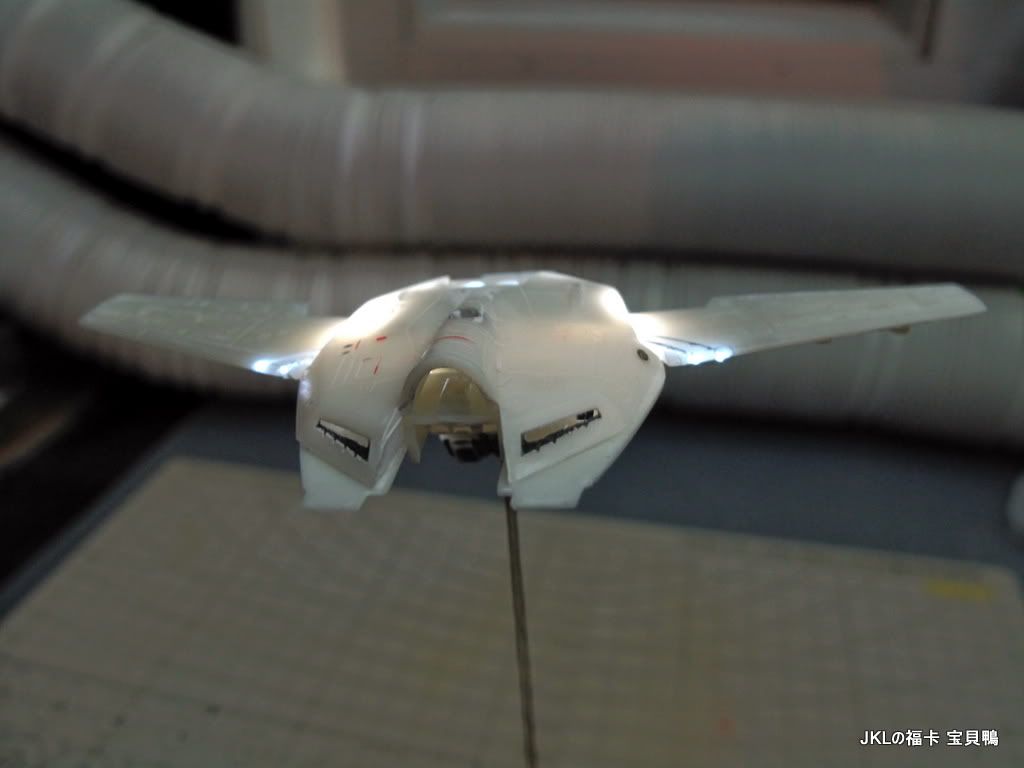
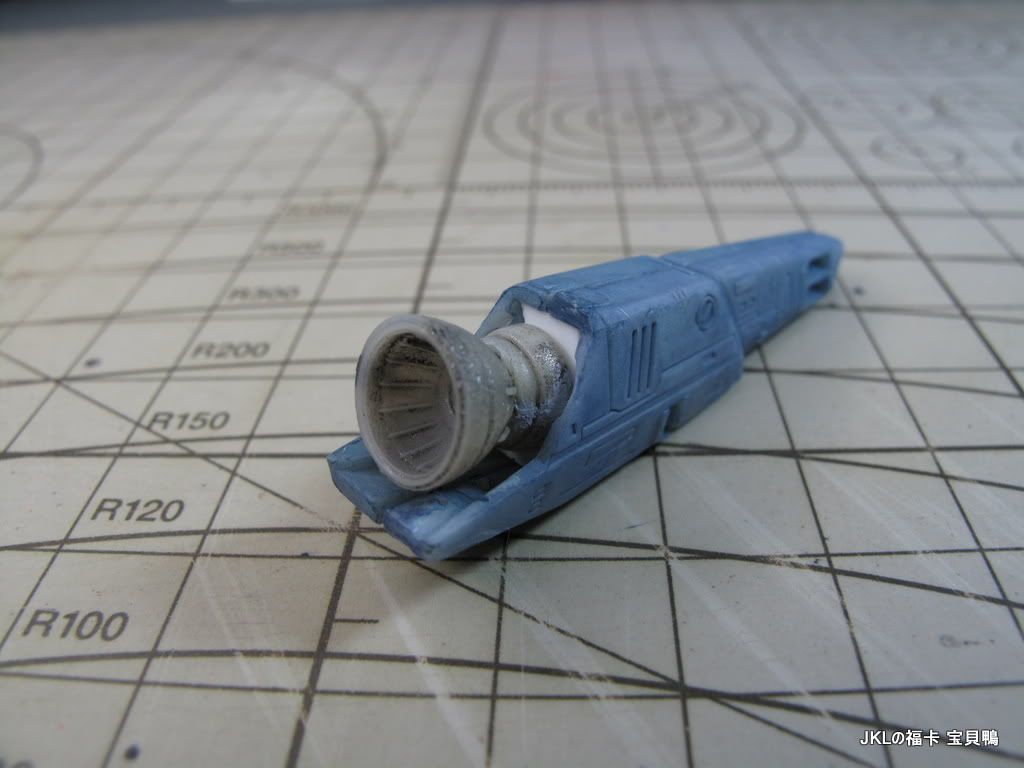
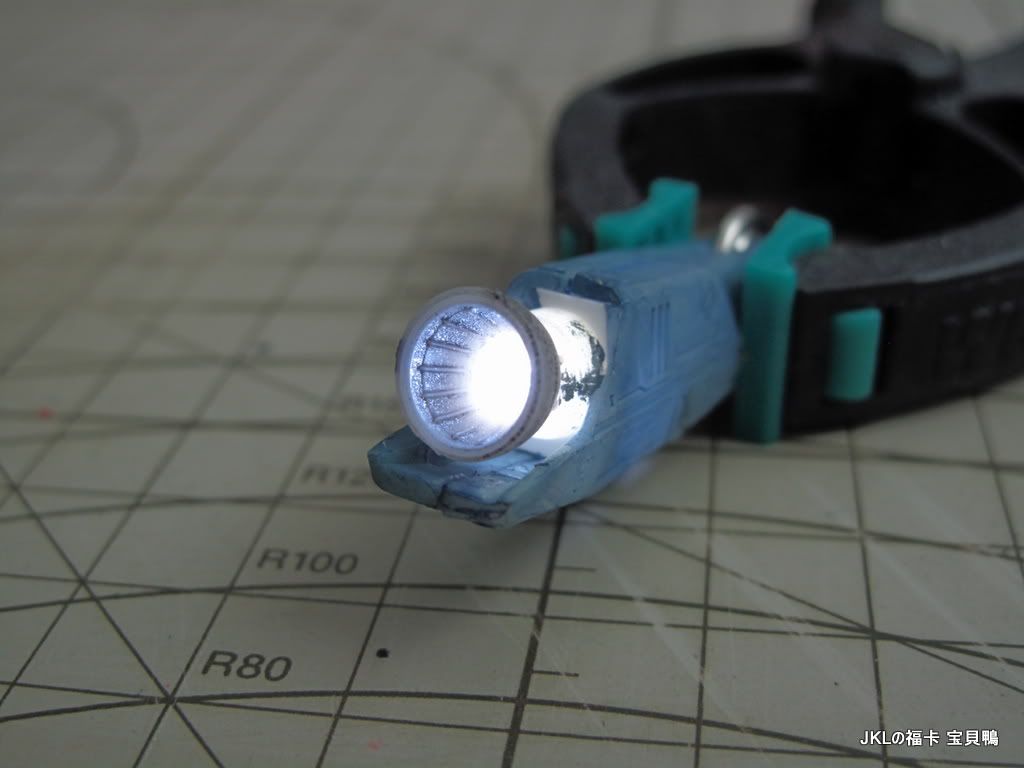
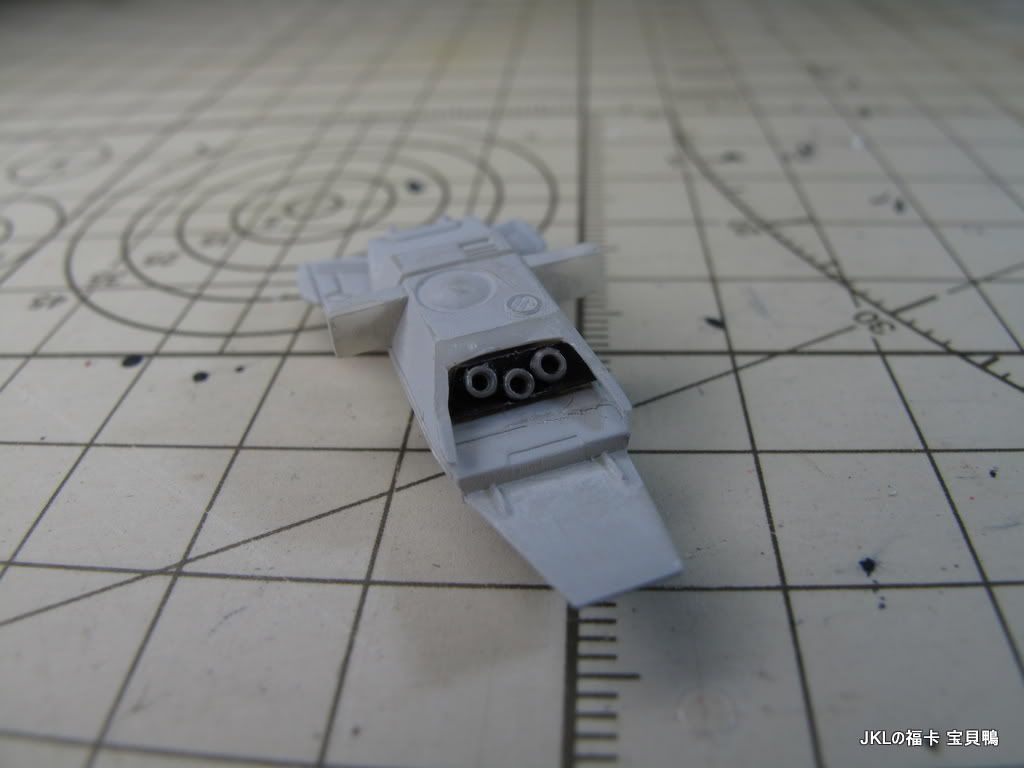
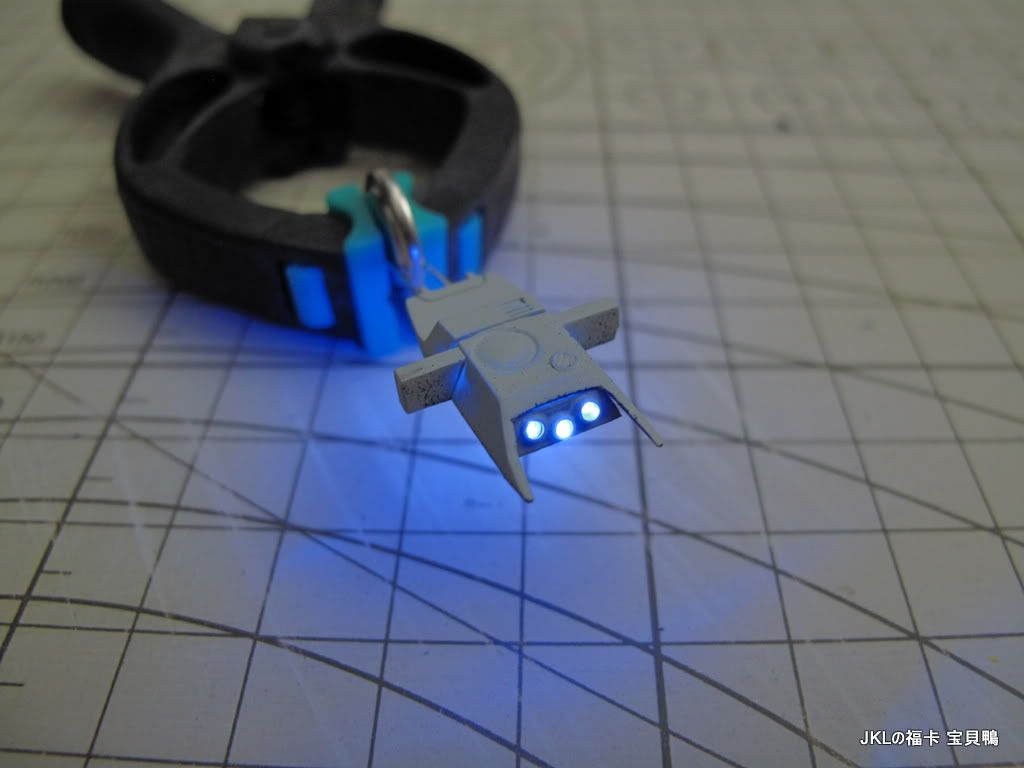
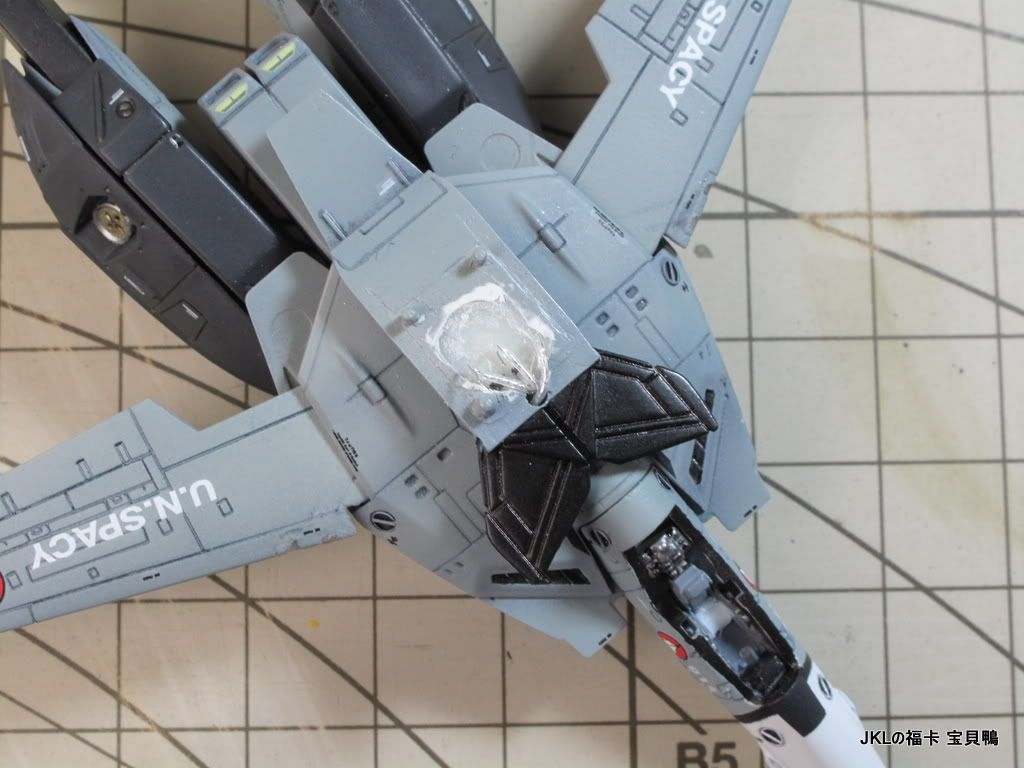
把機頭組合、無逢及噴灰後再試燈:

修改好原裝的駕駛艙蓋後再試燈:
這就是由底座供電的接口, 又是我常用的IC插:

直伸到機身:
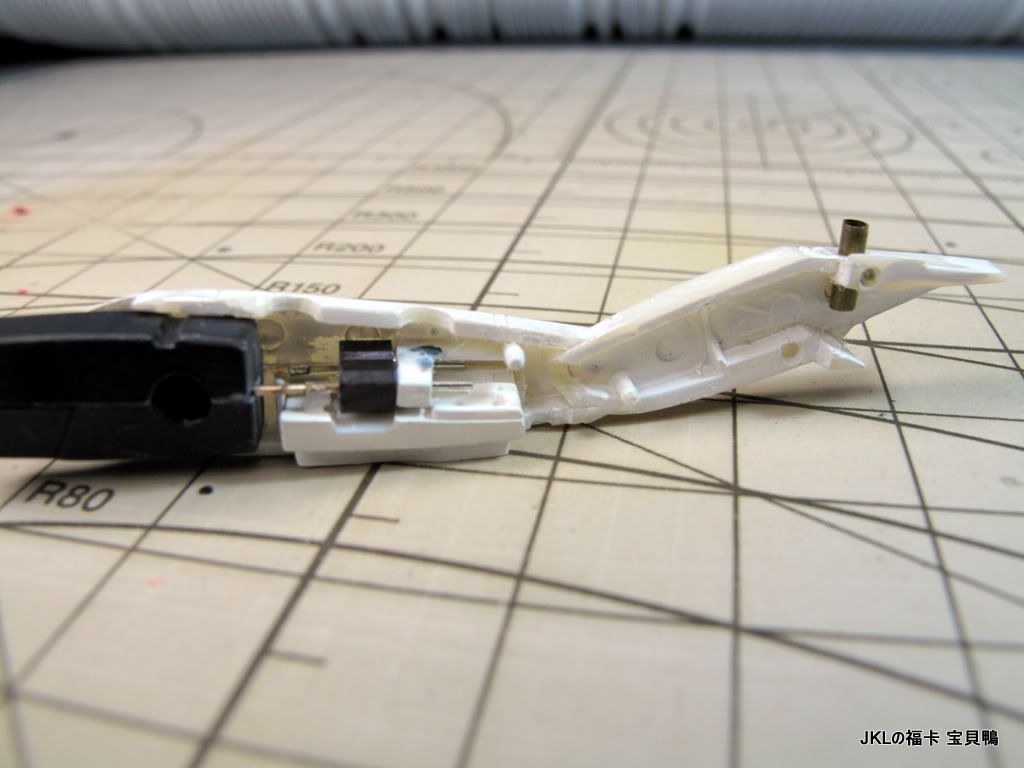
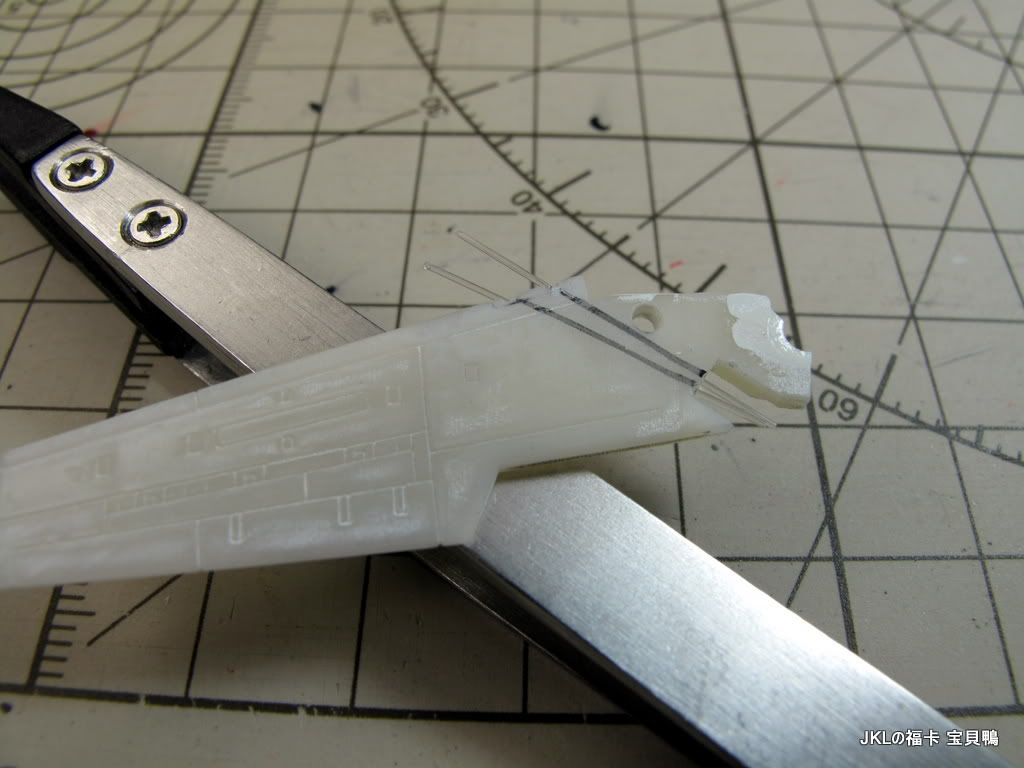
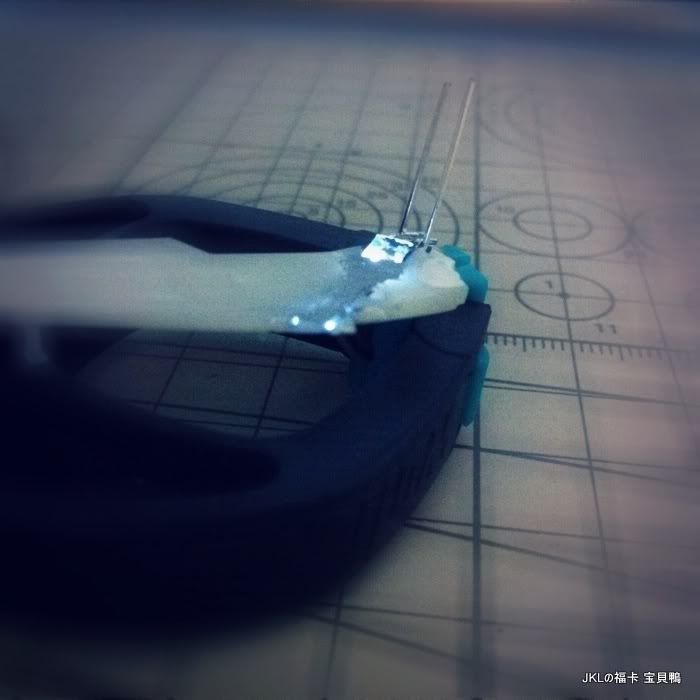
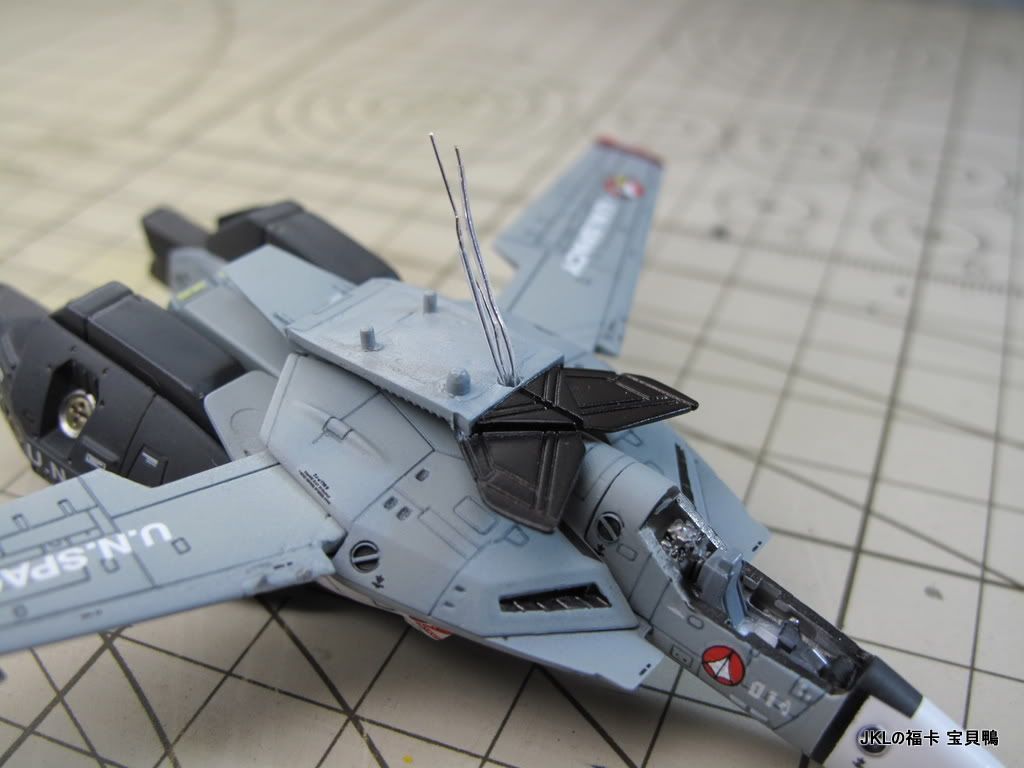
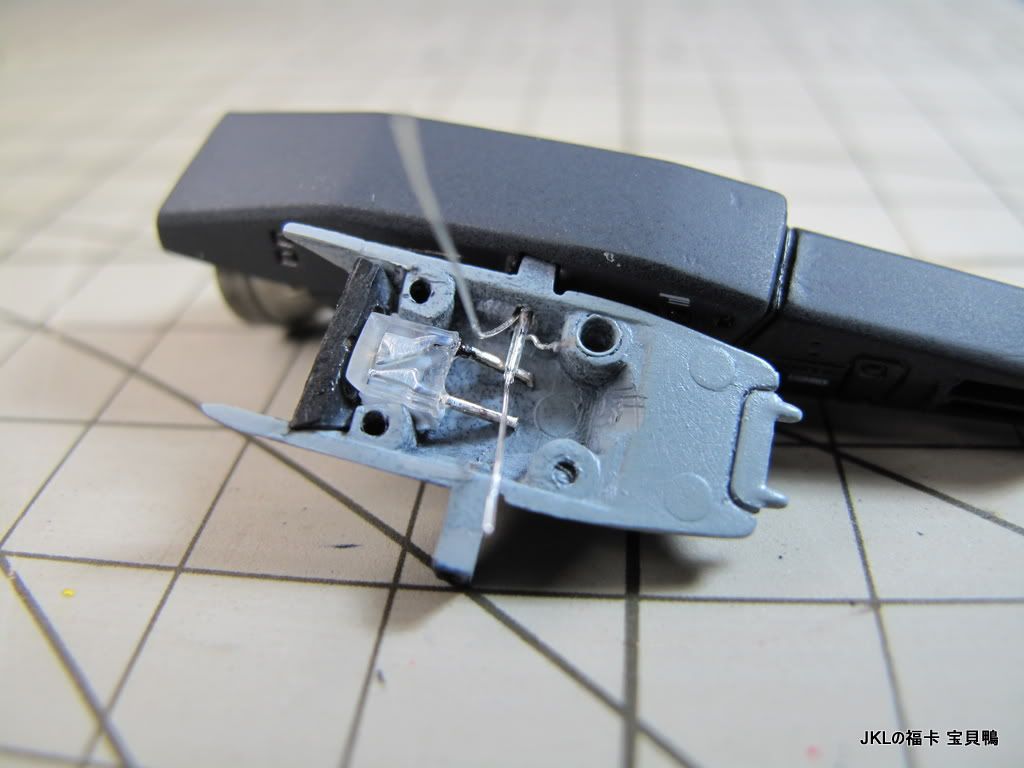
VF-1機翼是有兩盞射燈的, 又是3x2mm LED

用marker畫兩條guideline:
用0.5mm鑽咀鑽穿:
我常用的0.5mm魚絲光纖:
最後在LED鑽小孔固定魚絲光纖:
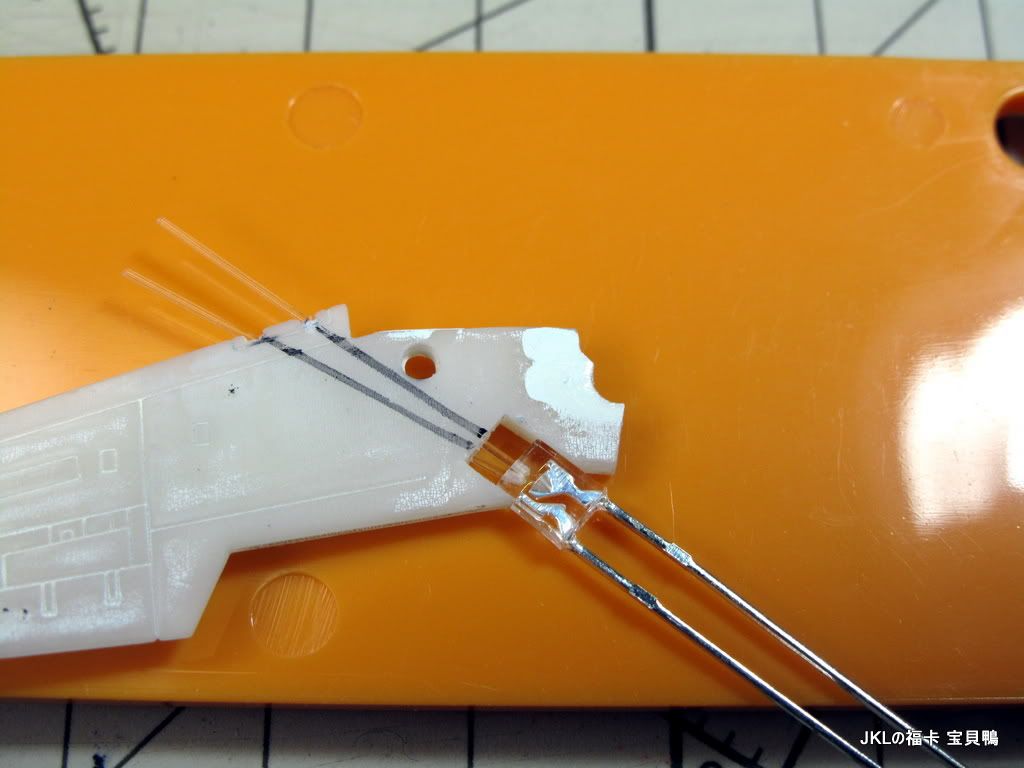
試試效果:

由機底供電:

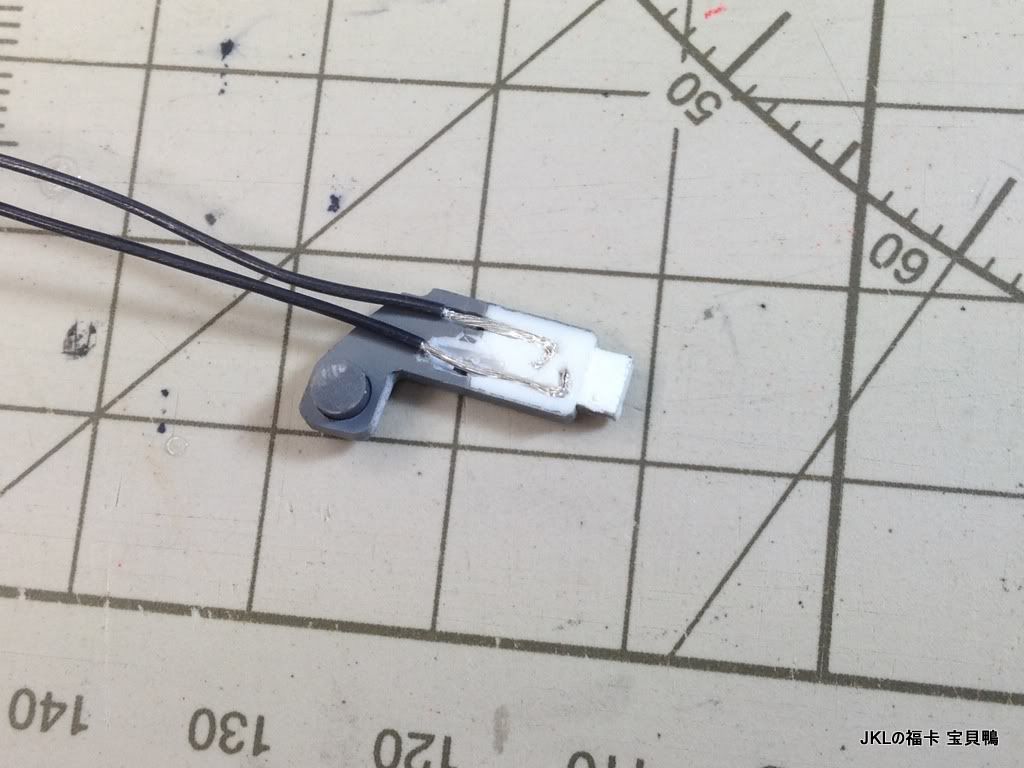
IC插與LED的連接位:

大致上是這樣, 之後遮漏光位便可...
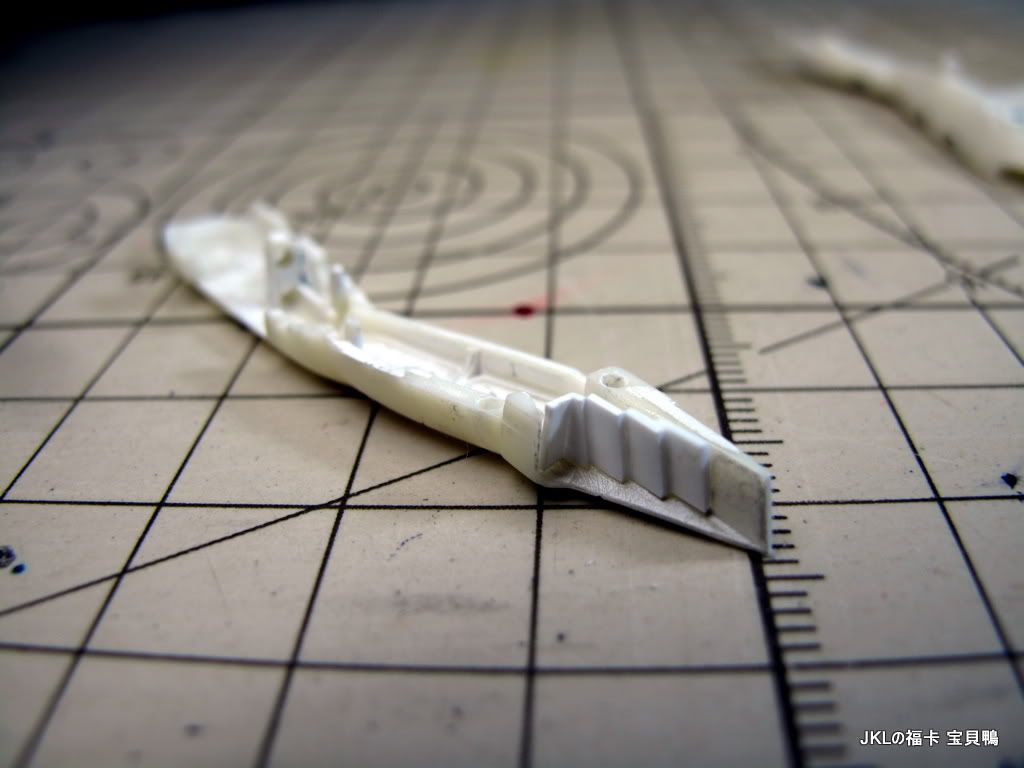
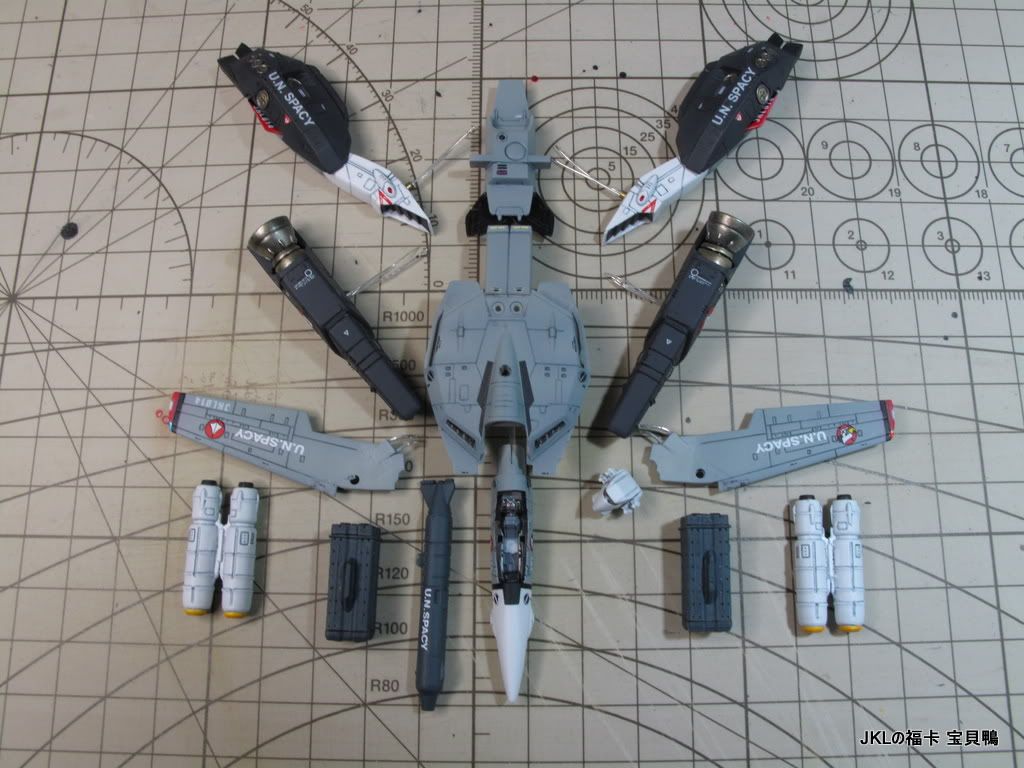
原裝盒蛋的飛彈架太大了, 用I字形膠條造過:


大約會是這樣:
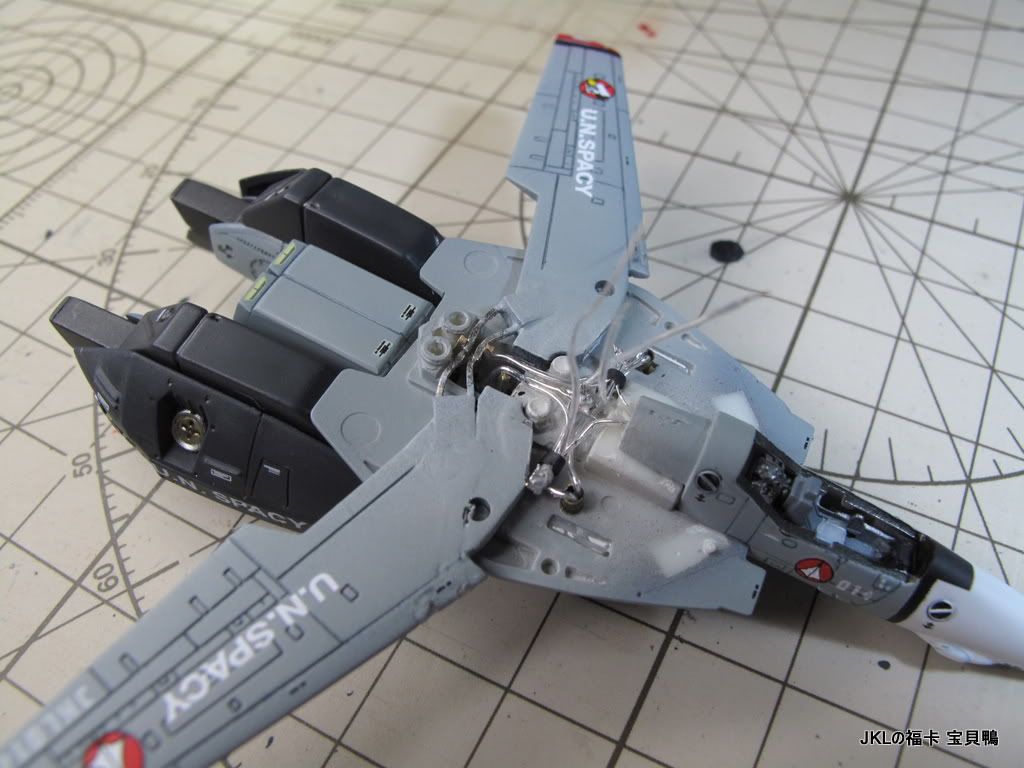
 但是要來的意外終於都要來! 一不留神, 滴了小小膠水入右面機翼, 隨即滲入魚絲光纖坑! 天啊! 膠水熔了魚絲而降低透光度...
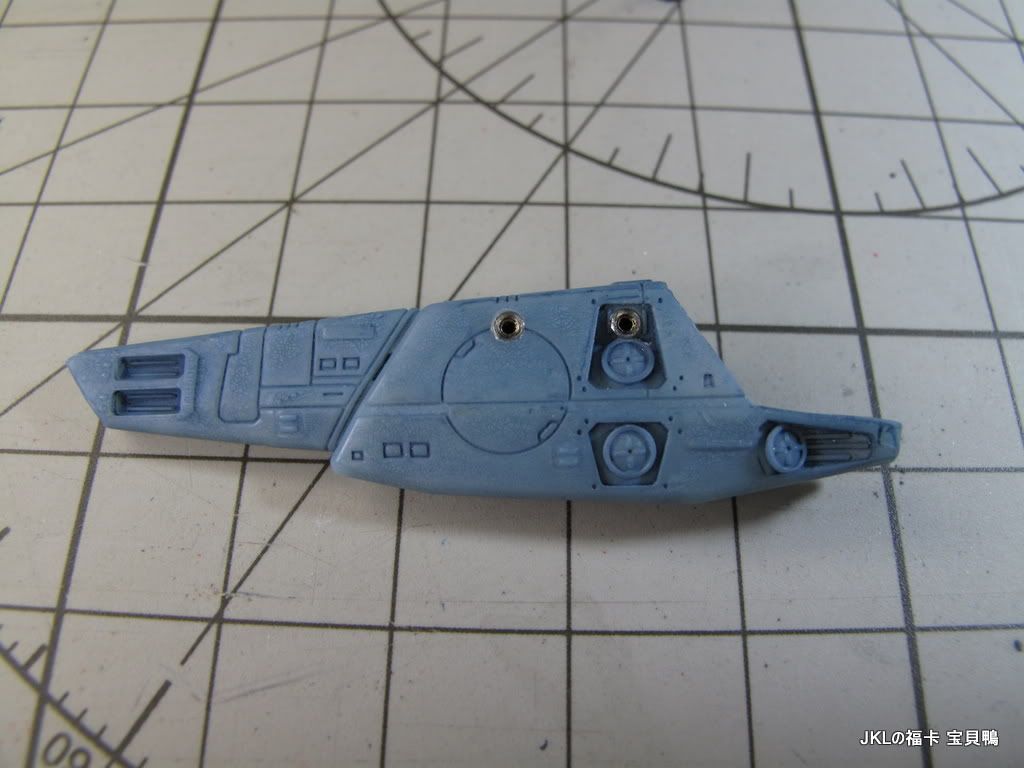
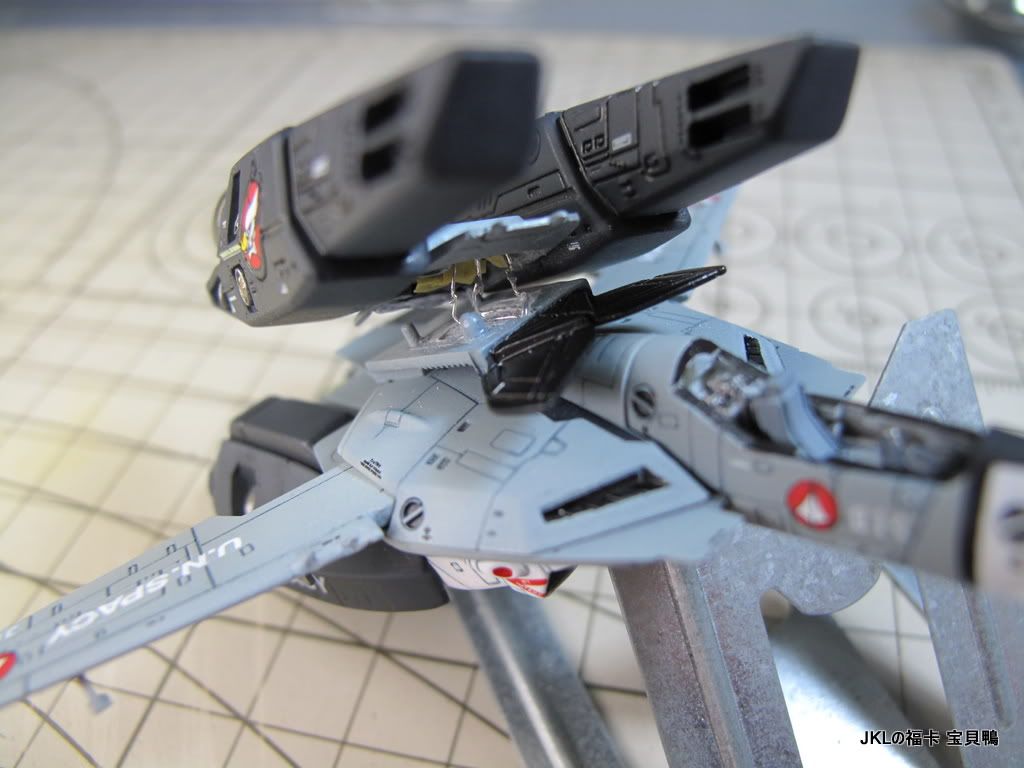
 FAST Pack引擎內燈... 先造個LED燈架:
FAST Pack外圍加入兩支IC腳...
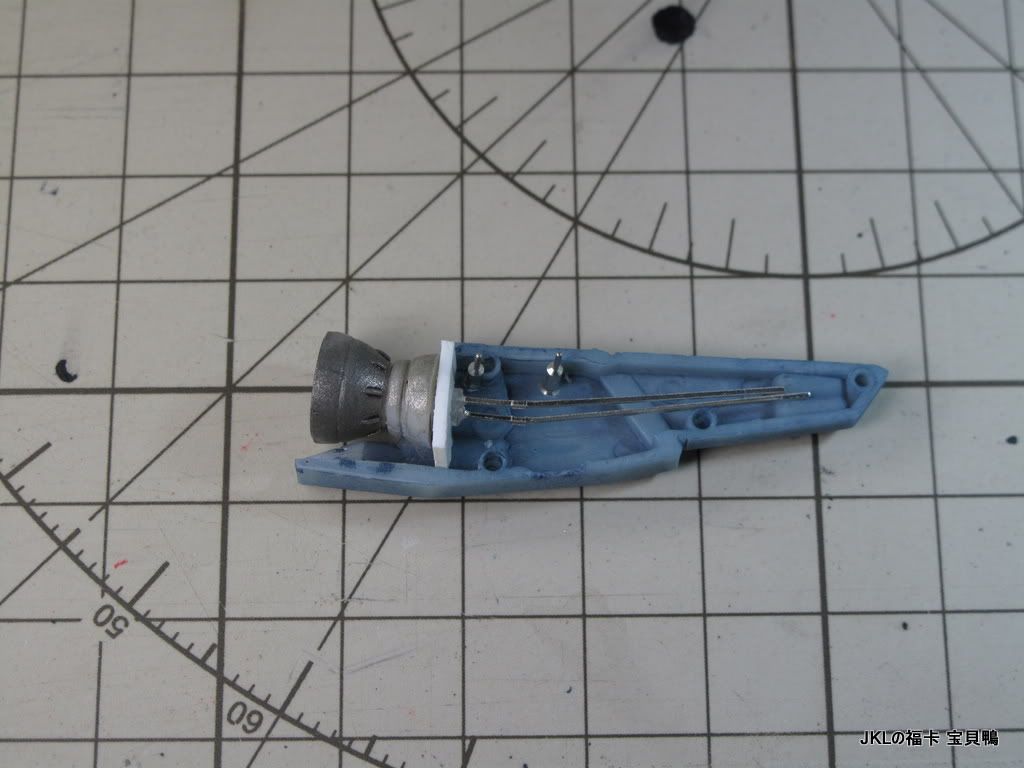
燈內有燈? 應該話燈後有燈...
出面的用粉紅色LED, 裡面用藍色, 再加小小計仔... 效果就會係咁:
焊線... 其實焊線一啲都唔難,難在要用最小線去走哂兩正一負而又唔會短路...
上了灰的一對FAST Pack:

機背用壽屋的1.6mm圓圈, 鑽穿中間, 似返原設:
手痕又放粒燈入去:
連接FAST Pack的部份要鑽穿走線:
頭部改了小小:
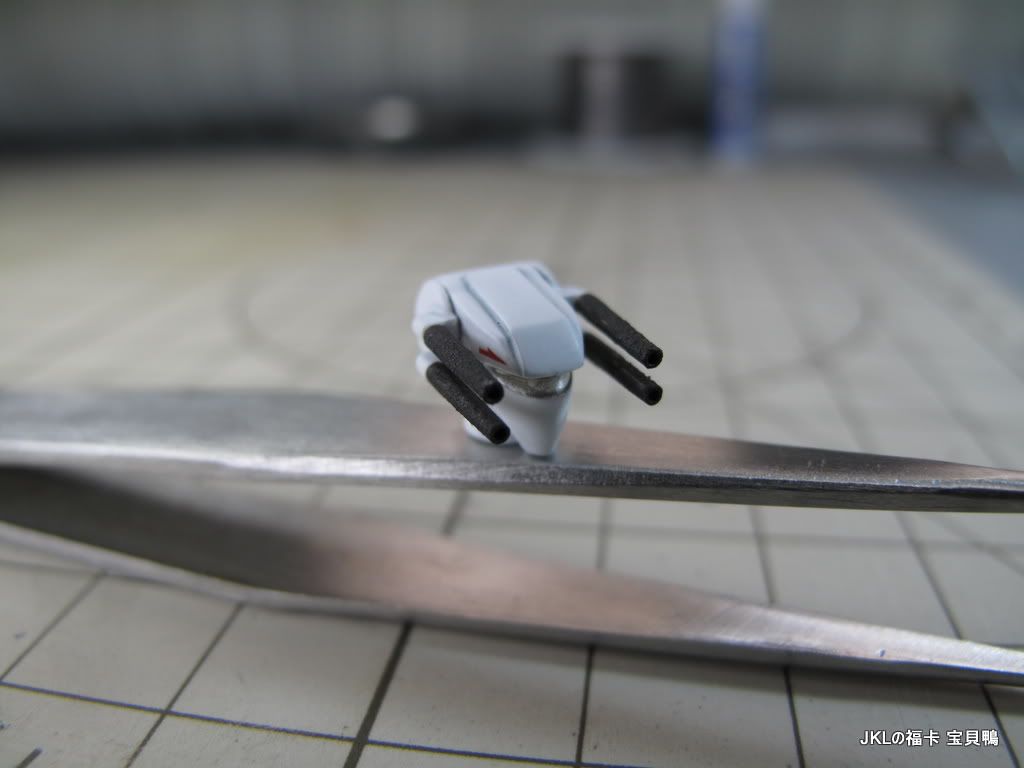
機翼燈位用紫外光膠水:

上好色後, 可以焊合了:
都唔知點講好... 總知一步一驚心啦!


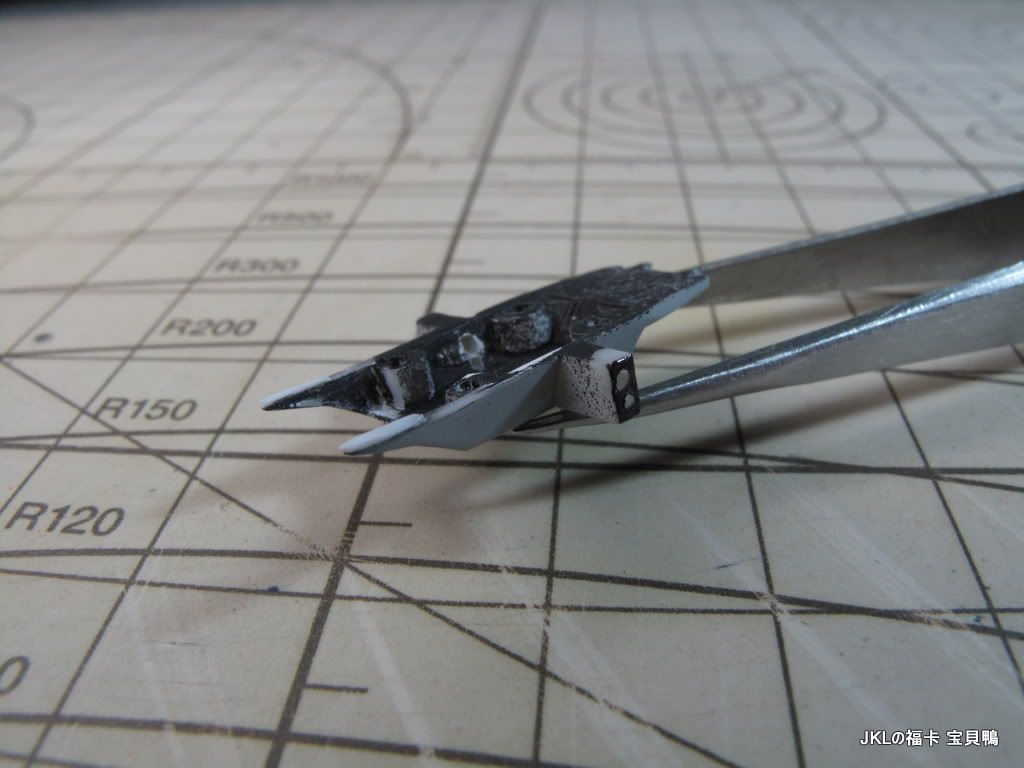
之前在FAST Pack外圍加入兩支IC腳, 是為了由吊臂供電至爪, 再供電至機內的LED...
用0.5mm推刀在爪中挖坑收0.5mm銅線:

可動供電爪...
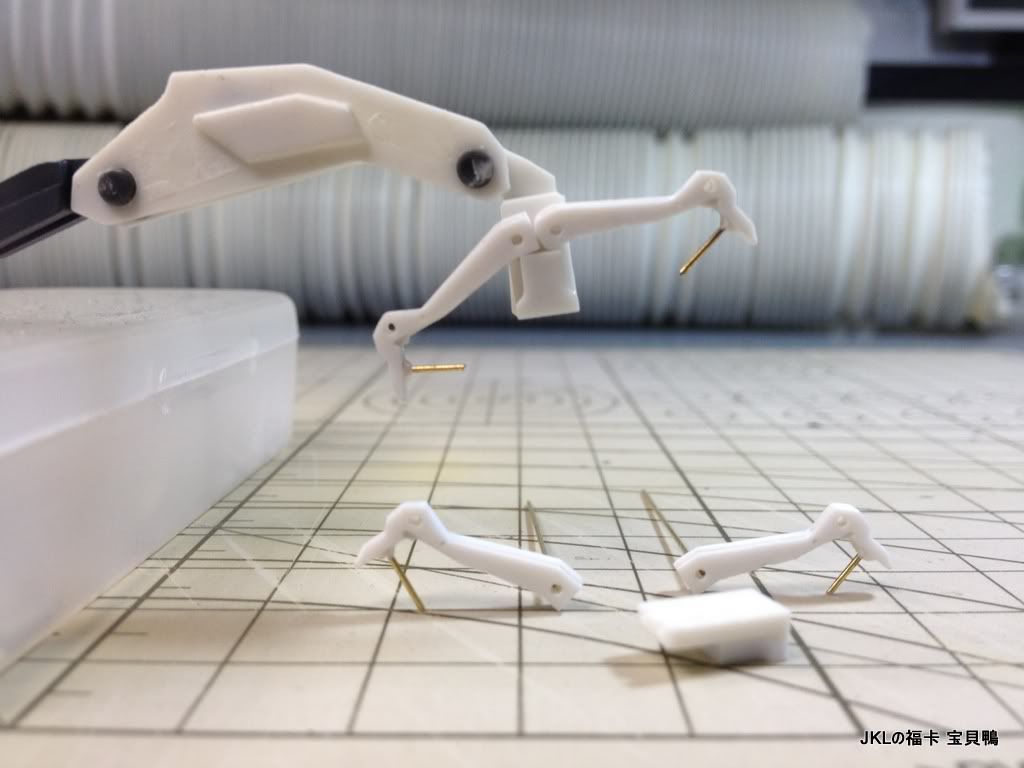
因為爪至吊臂的零件太細, 落唔到錫!用了"迫死佢"的方法去做爪中銅線連至吊臂電線, 重點在電線尾的鉤, 滴小小AA膠便可固定電線在吊臂內而不會鬆脫:
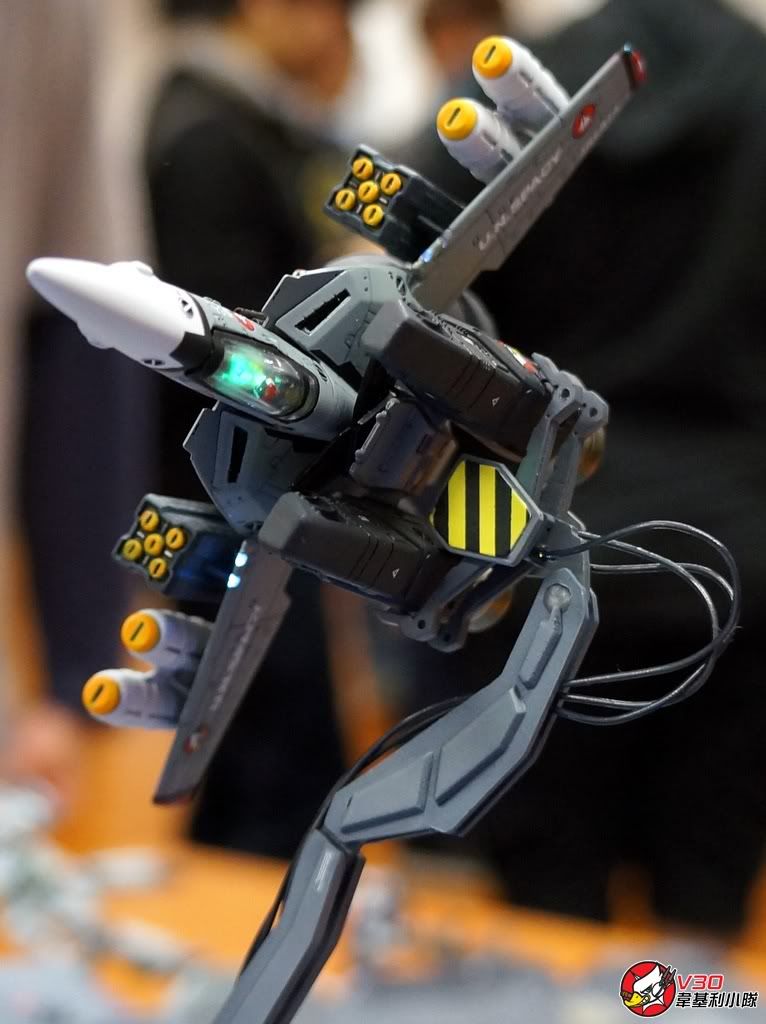
這是2月12日中午影的成品照...
 成品:
http://www.hkml.net/Discuz/viewthread.php?tid=143123
成品:
http://www.hkml.net/Discuz/viewthread.php?tid=143123
[ 本帖最後由 JKL 於 2012-2-24 12:54 AM 編輯 ]
|

|

|
|


